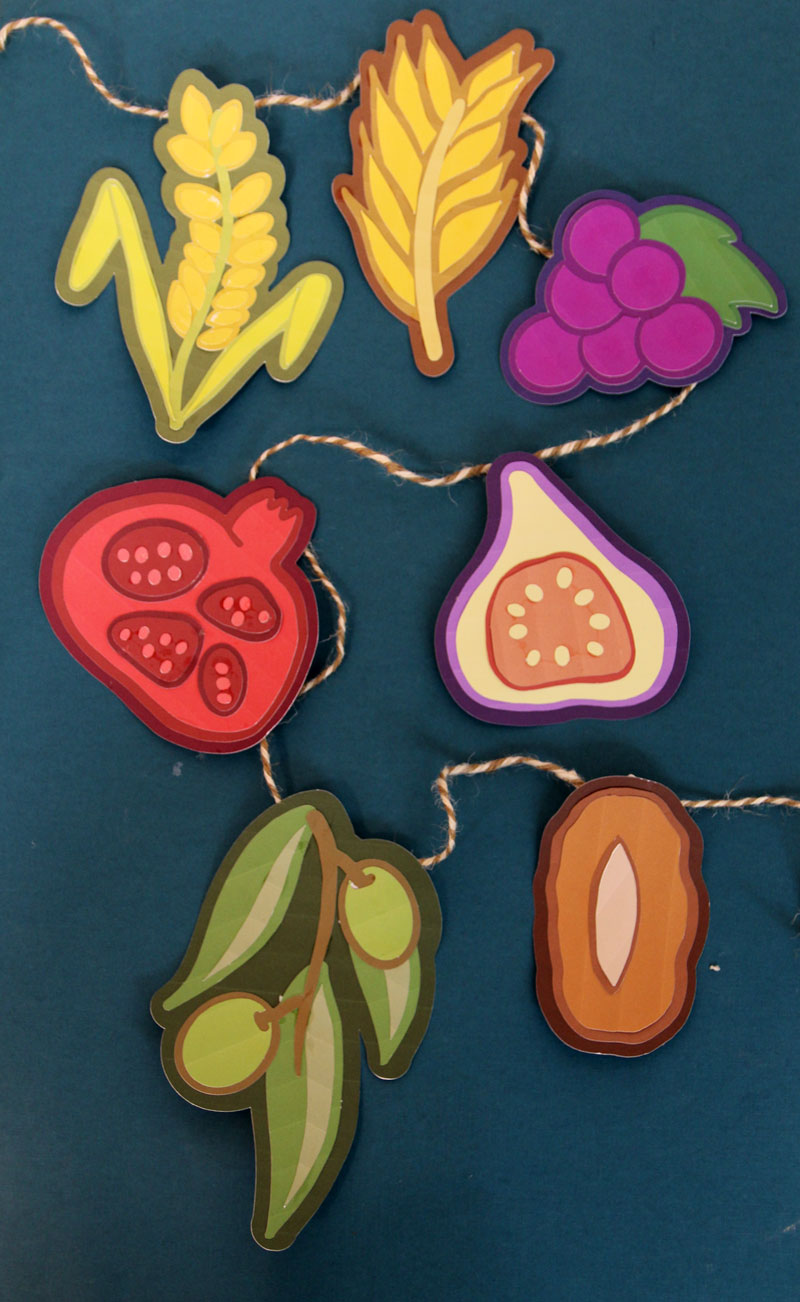
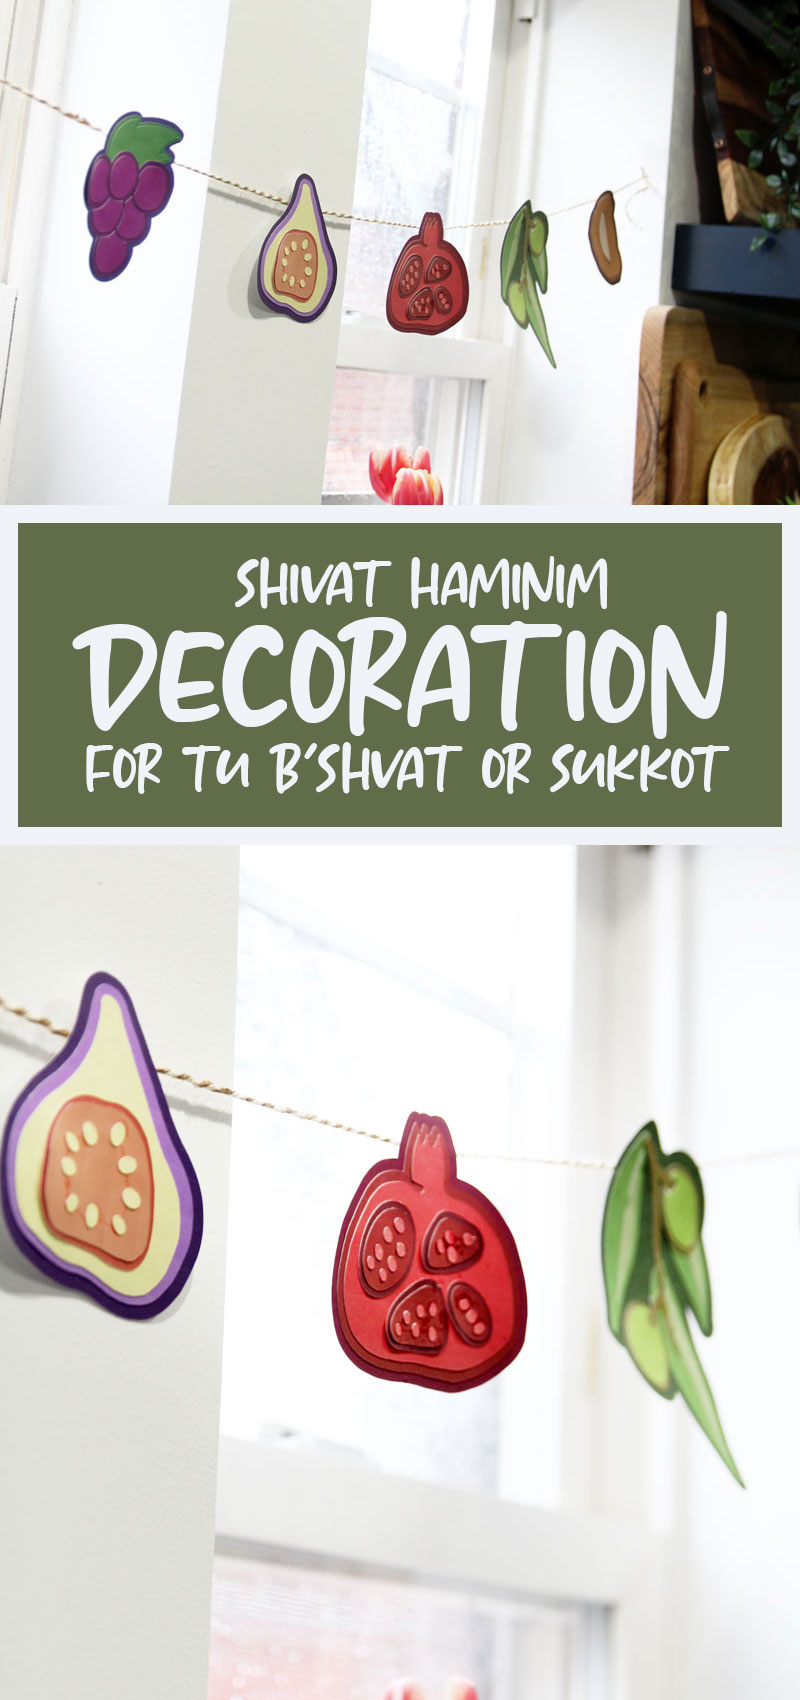
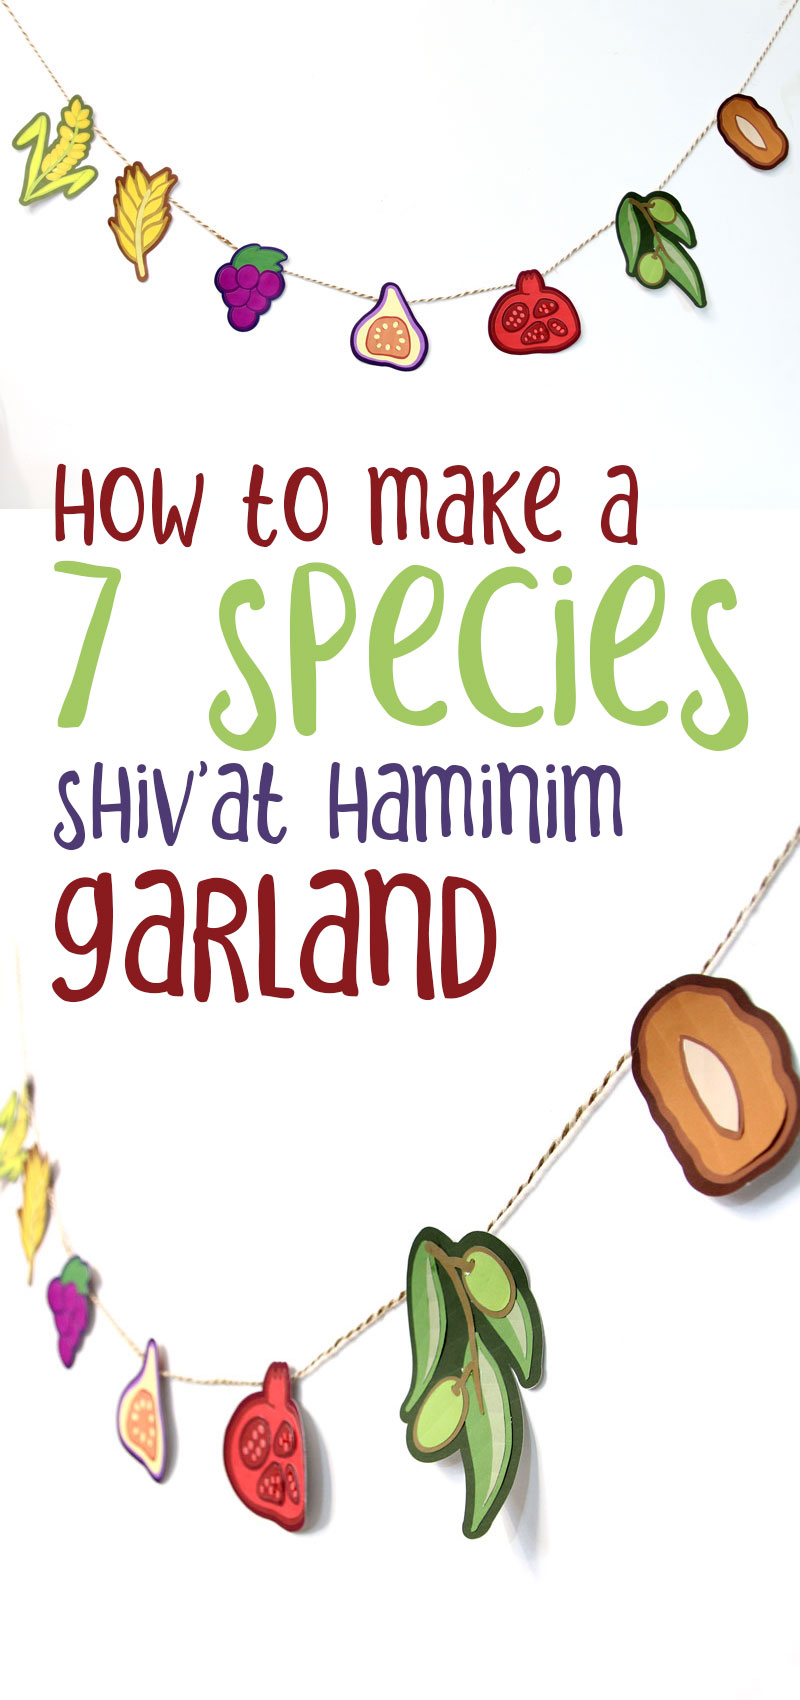
Make this beautiful shivat haminim craft for Tu B’shvat, the new year for the trees, or as a gorgeous Sukkah decoration. You can find my free printable 7 species coloring page here. This post contains affiliate links.
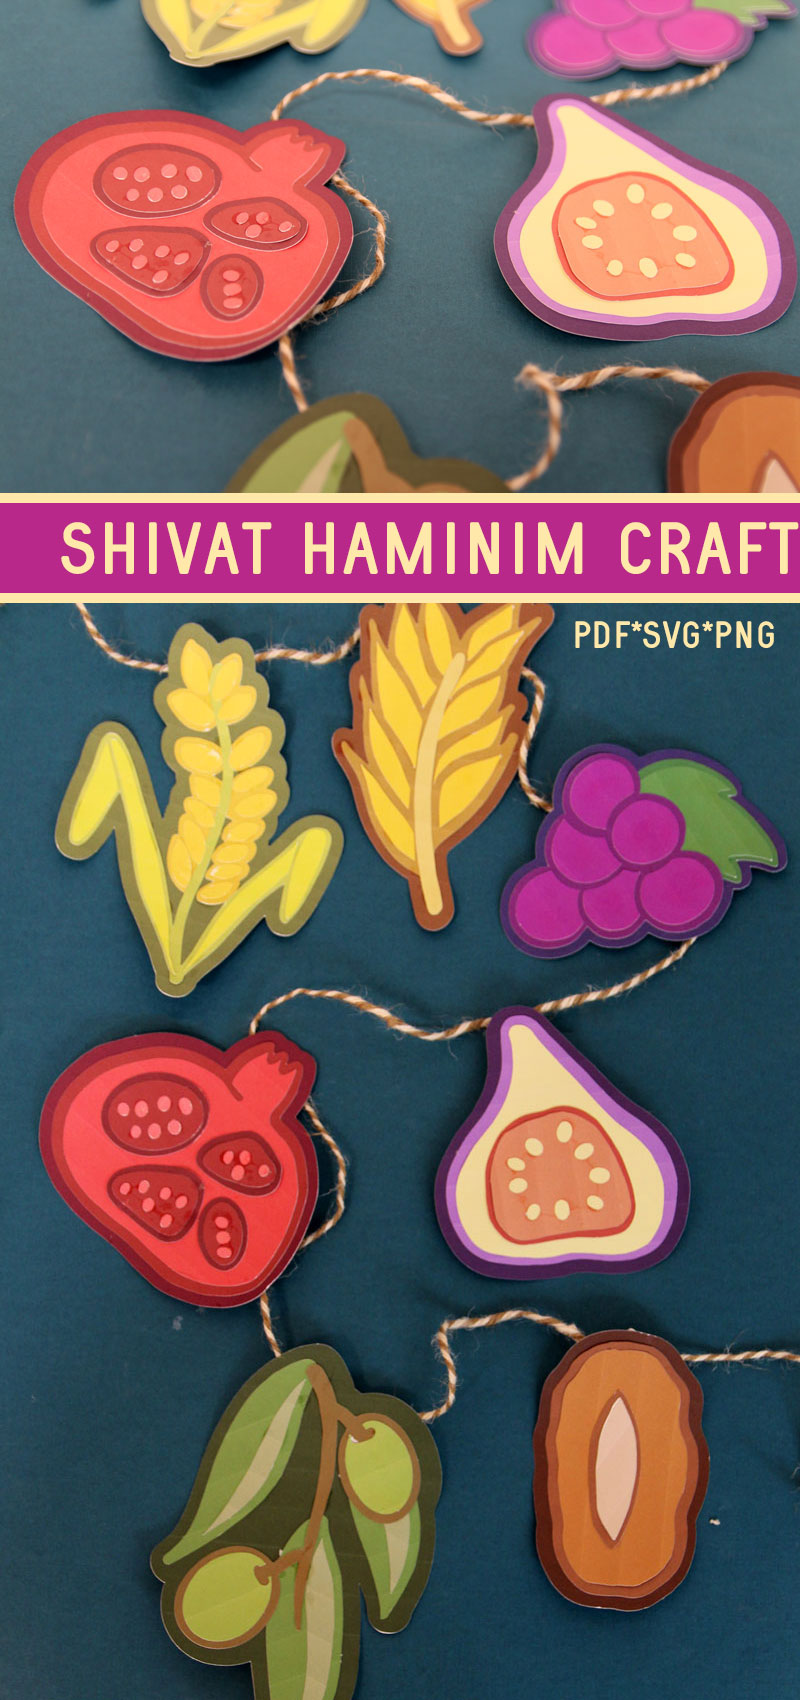
The Shivat Haminim, or the seven special species of Israel are celebrated all year, but especially on Tu B’shvat many people enjoy eating those fruits!
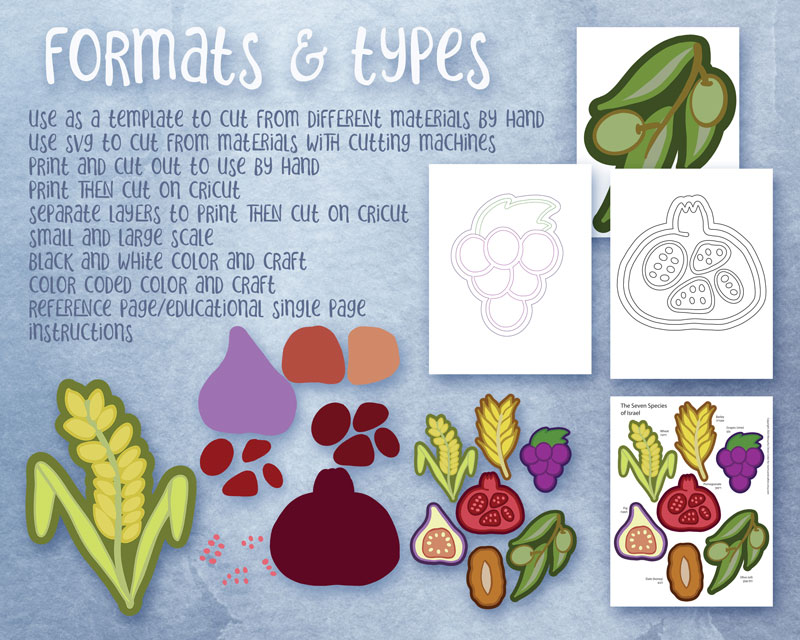
While I did design this as a Tu B’shvat decoration, I also wanted to include the non-fruit species – wheat and barley – to make the set complete.
Consider this a “choose your level” Shivat Haminim craft!
- Simply print the ready-to-go fruit, cut, and assemble into a garland.
- Print the outlined version, color, cut, assemble into a garland.
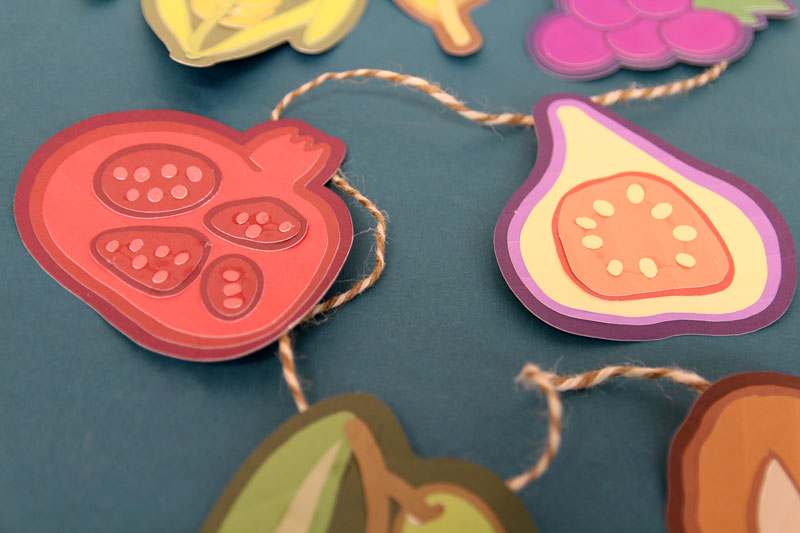
- Print the layered version, cut out the layers, assemble each one, and assemble the garland. This gets you something between an easy, printed craft and a cool, layered look.
- OR, use it as a template, cutting it from cardstock or another material for the best, most upscale look – and the most work, of course.
Originally I wanted to make this from felt, and you definitely still can. The reason I didn’t is simple: time!
I ended up not even matching the colors of cardstock to the layers, and simply printing it out as layers, cutting them, and putting it together. The size allowance is smaller this way.

While you can make this Shivat Haminim craft with a variety of materials, this tutorial will show you how to print and then cut the various layers with your Cricut OR by hand, so that you don’t have to find matching paper.
Alternatively, you can make this from felt, layered vinyl on a cardboard base, or colored cardstock.
Feeling really lazy? I also included a version where you can simply print the fruit already in layered images to just cut out and throw onto a string for an instant craft!
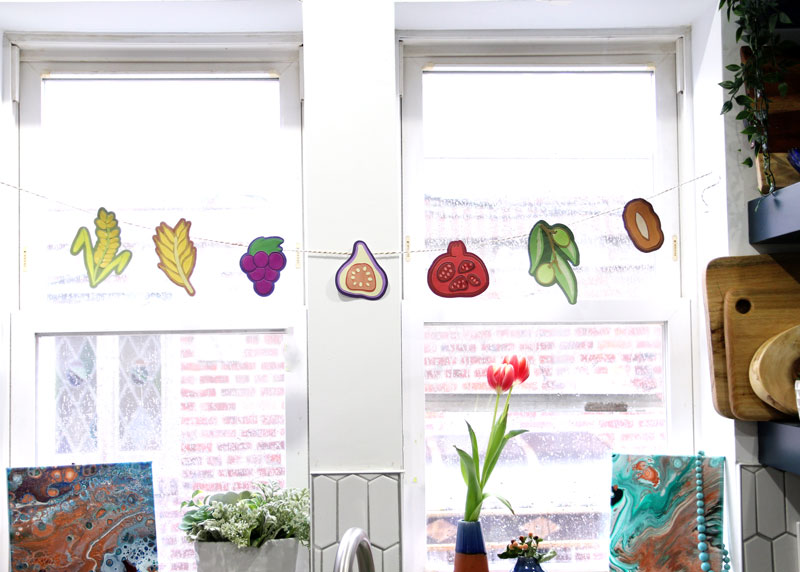
Want to hang it in the Sukkah? Just laminate each fruit – or use a water resistant material like acrylic felt.
What you need to make this Shivat Haminim
- The template – above
- White printer cardstock
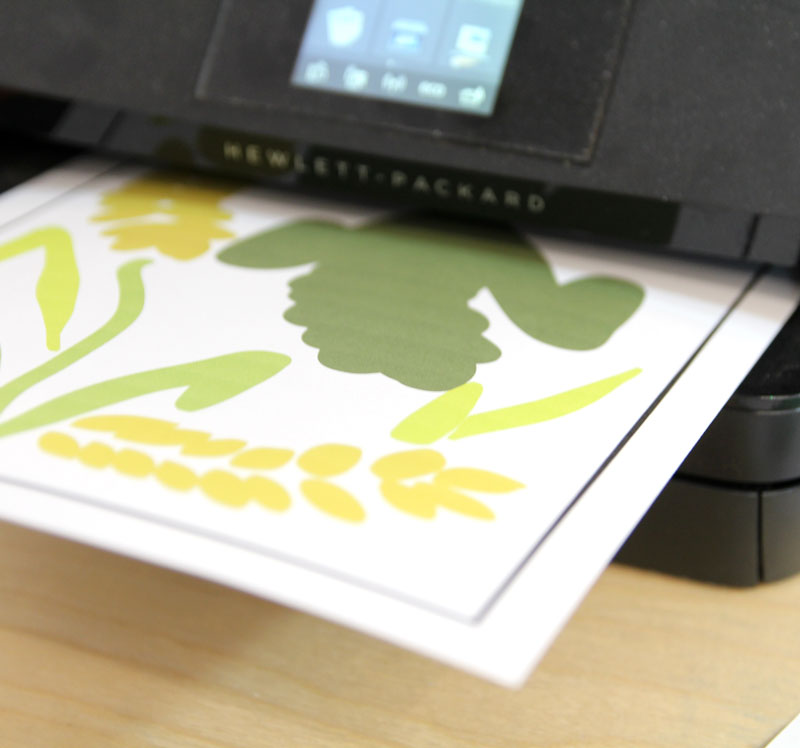
- A good quality color printer (the better your printer, the nicer your garland will come out)
- Alternatively: a good variety of shades of felt, cardstock, or vinyl
- Glue – tacky, this glue pen, or glue dots
- String
- Masking tape
For Cricut users:
- Blue LightGrip mat (or the green StandardGrip mat that’s not as sticky as it used to be
 )
) - Fine point blade
- Recommended: brayer for adhering it well to the mat
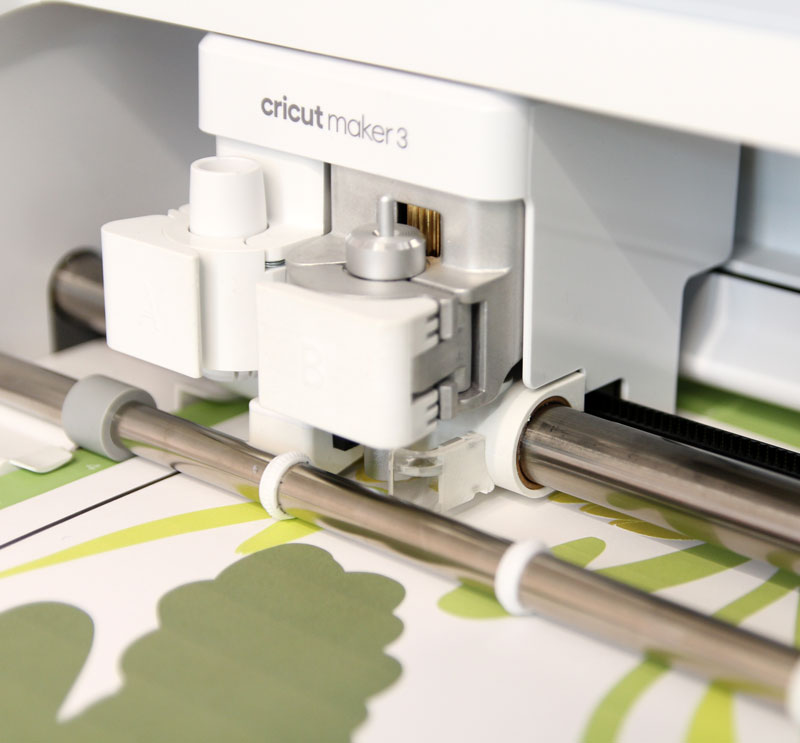
- Cricut Maker or Explore families
How to cut it by hand:
- From the Shivat Haminim PDF Printables folder, print out the PDF file that says “Shivat Haminim Printable Layers” on cardstock. I recommend also printing out the reference page.
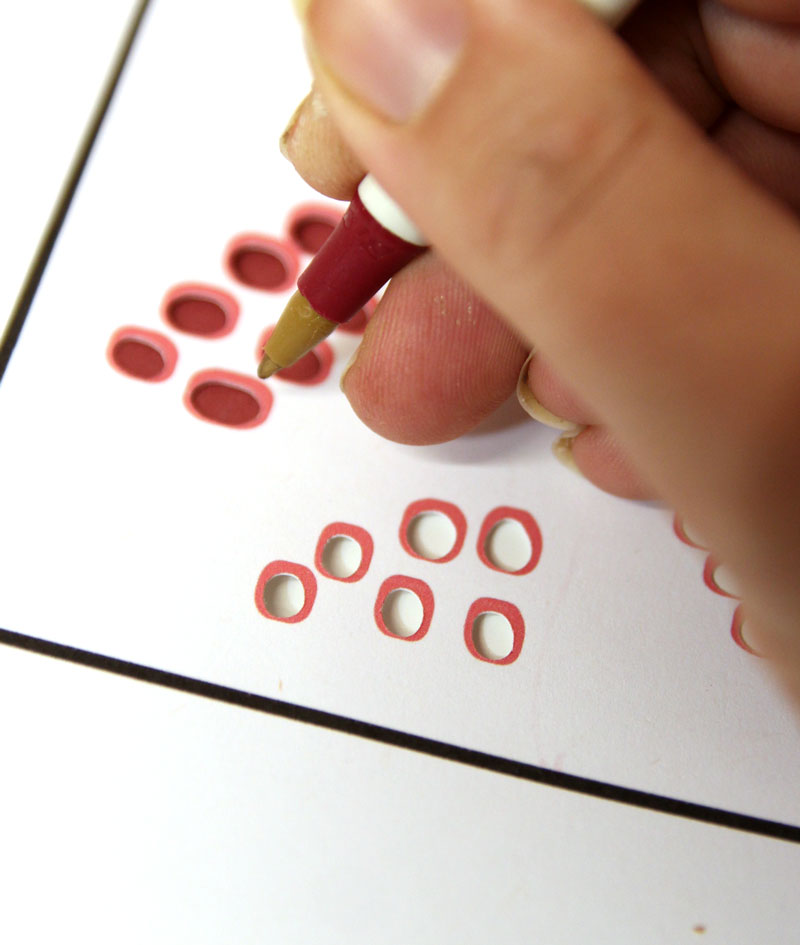
- Cut out the outermost outlines. Make sure to keep your parts in place. If you’re finding the seeds difficult, you can punch those out of coordinating paper, or leave them off. They’re not totally necessary.
How to cut with your Cricut
Design Space Setup:
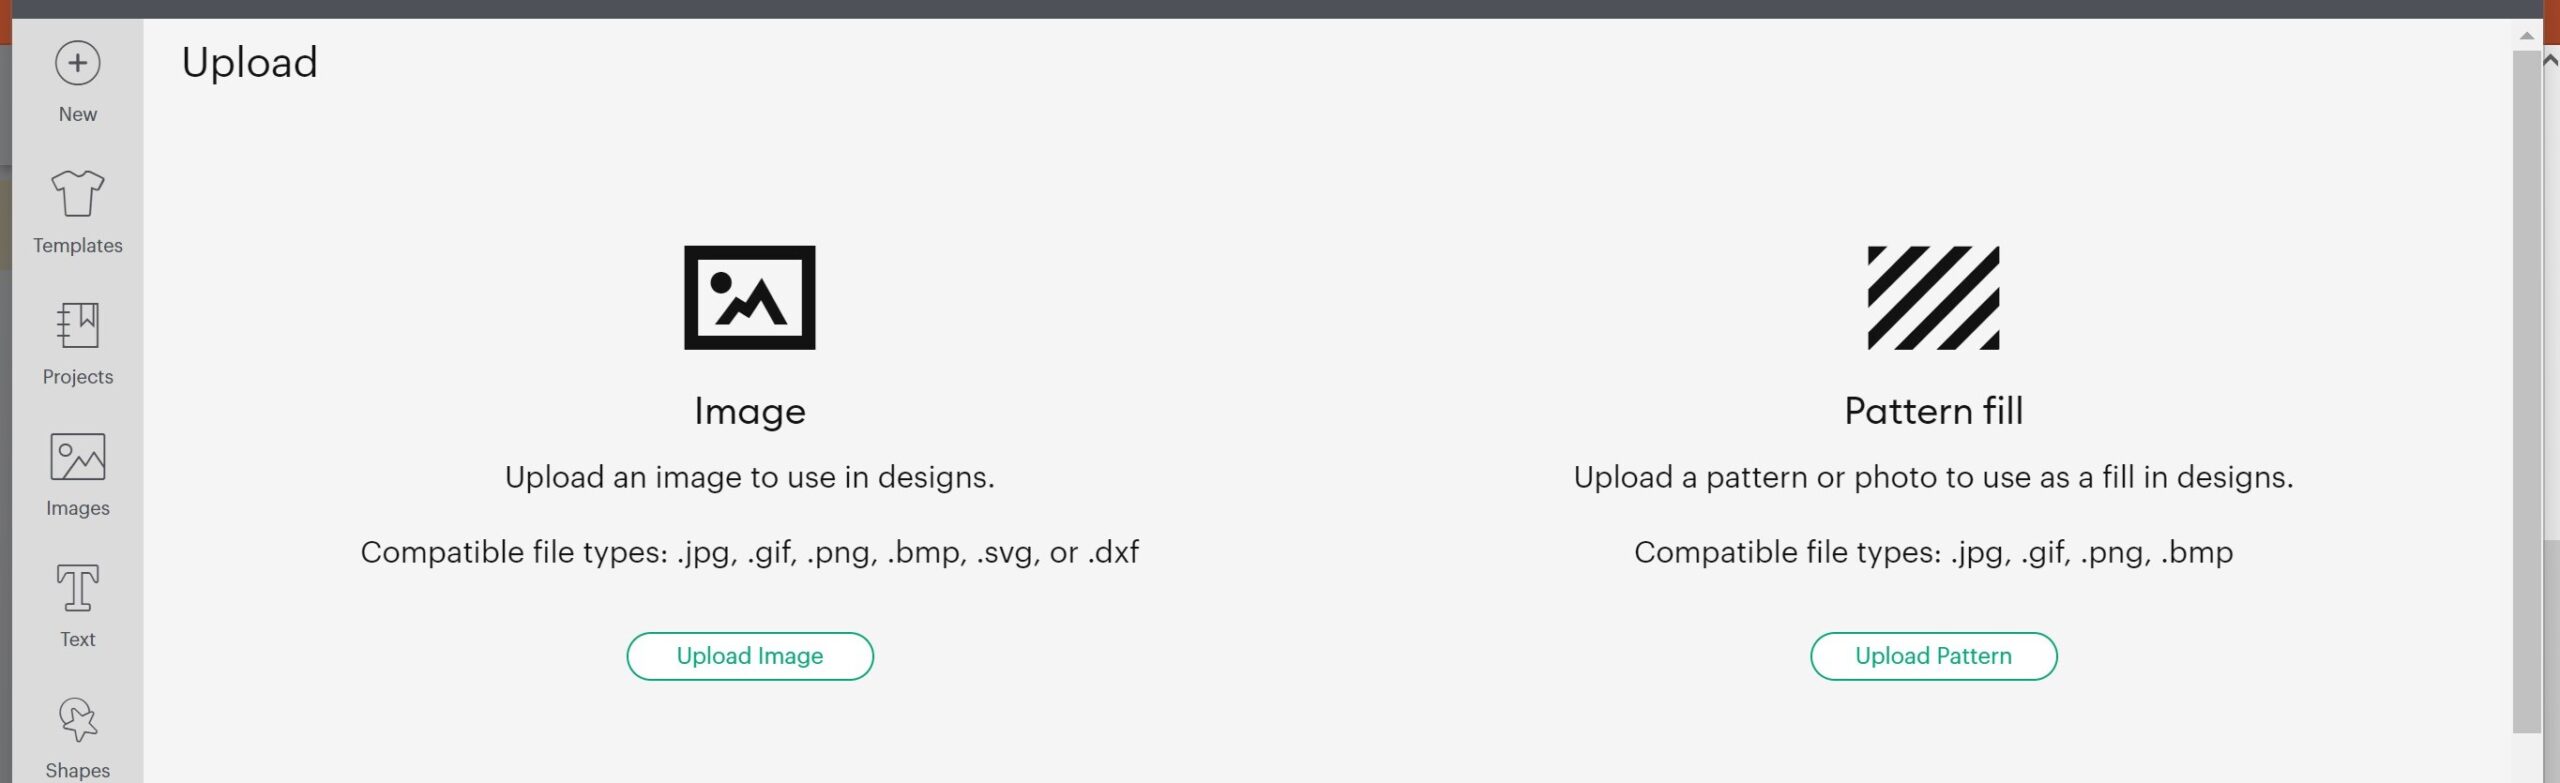
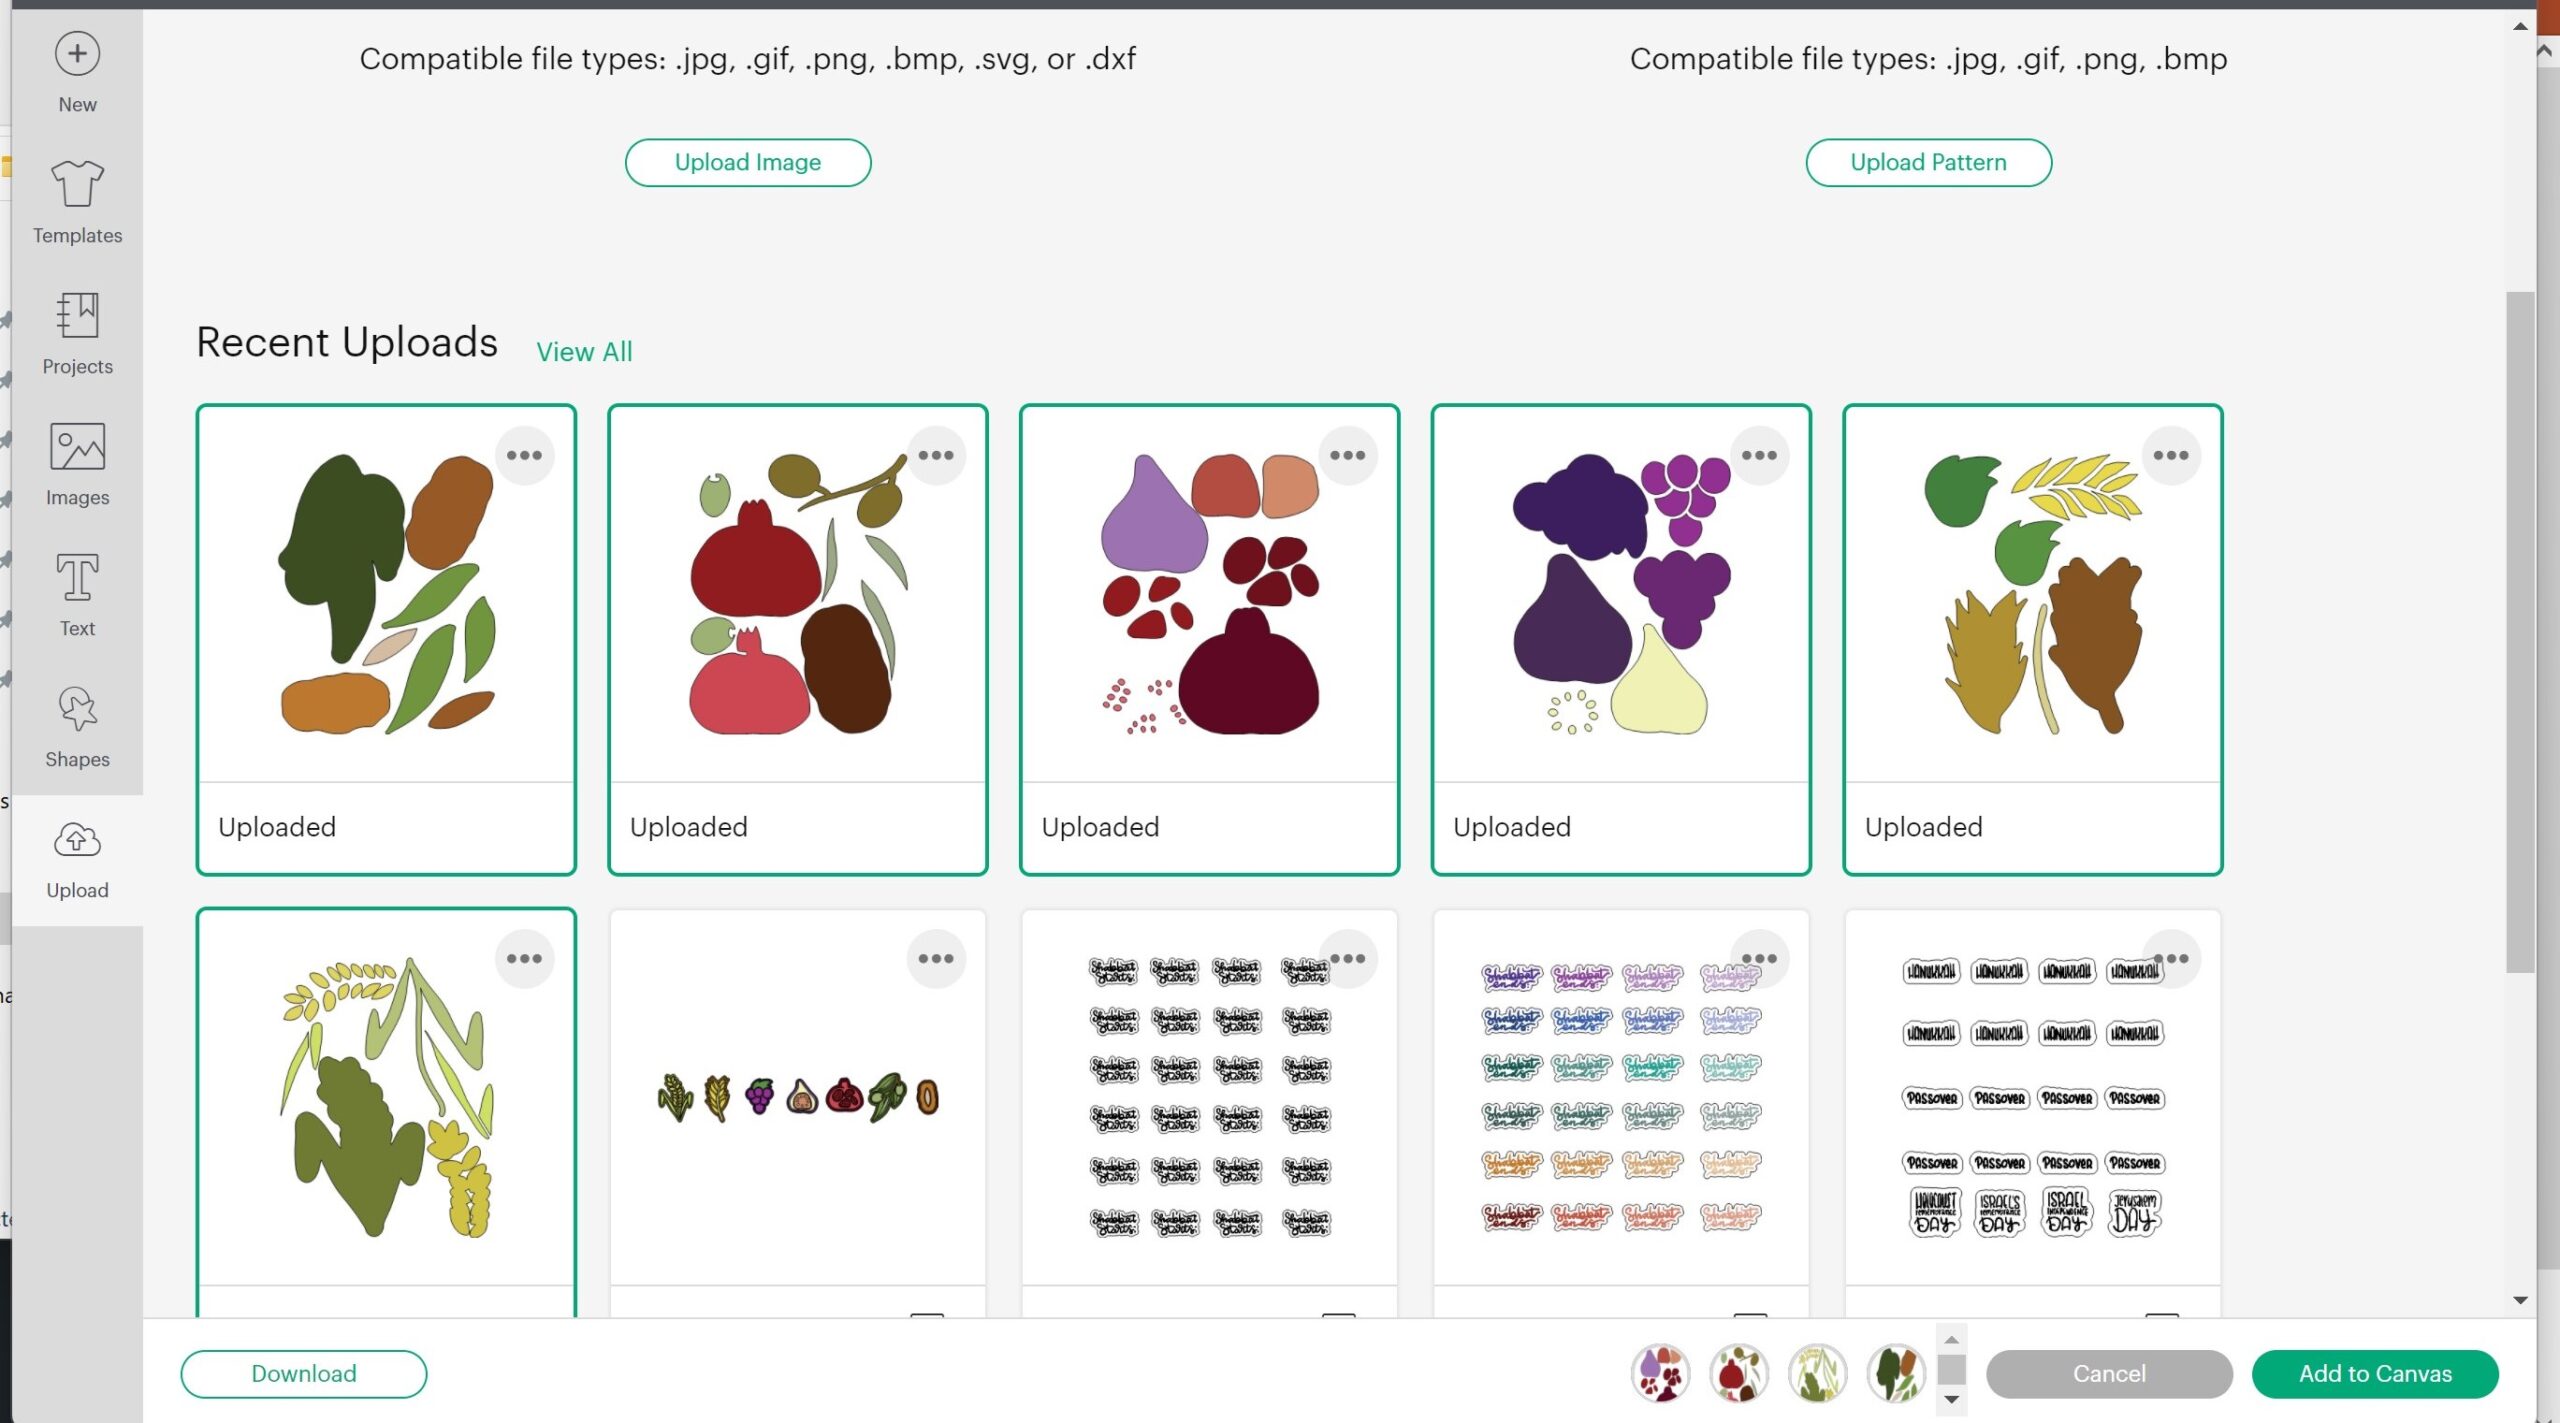
1. In a new project, click upload. Upload your image.
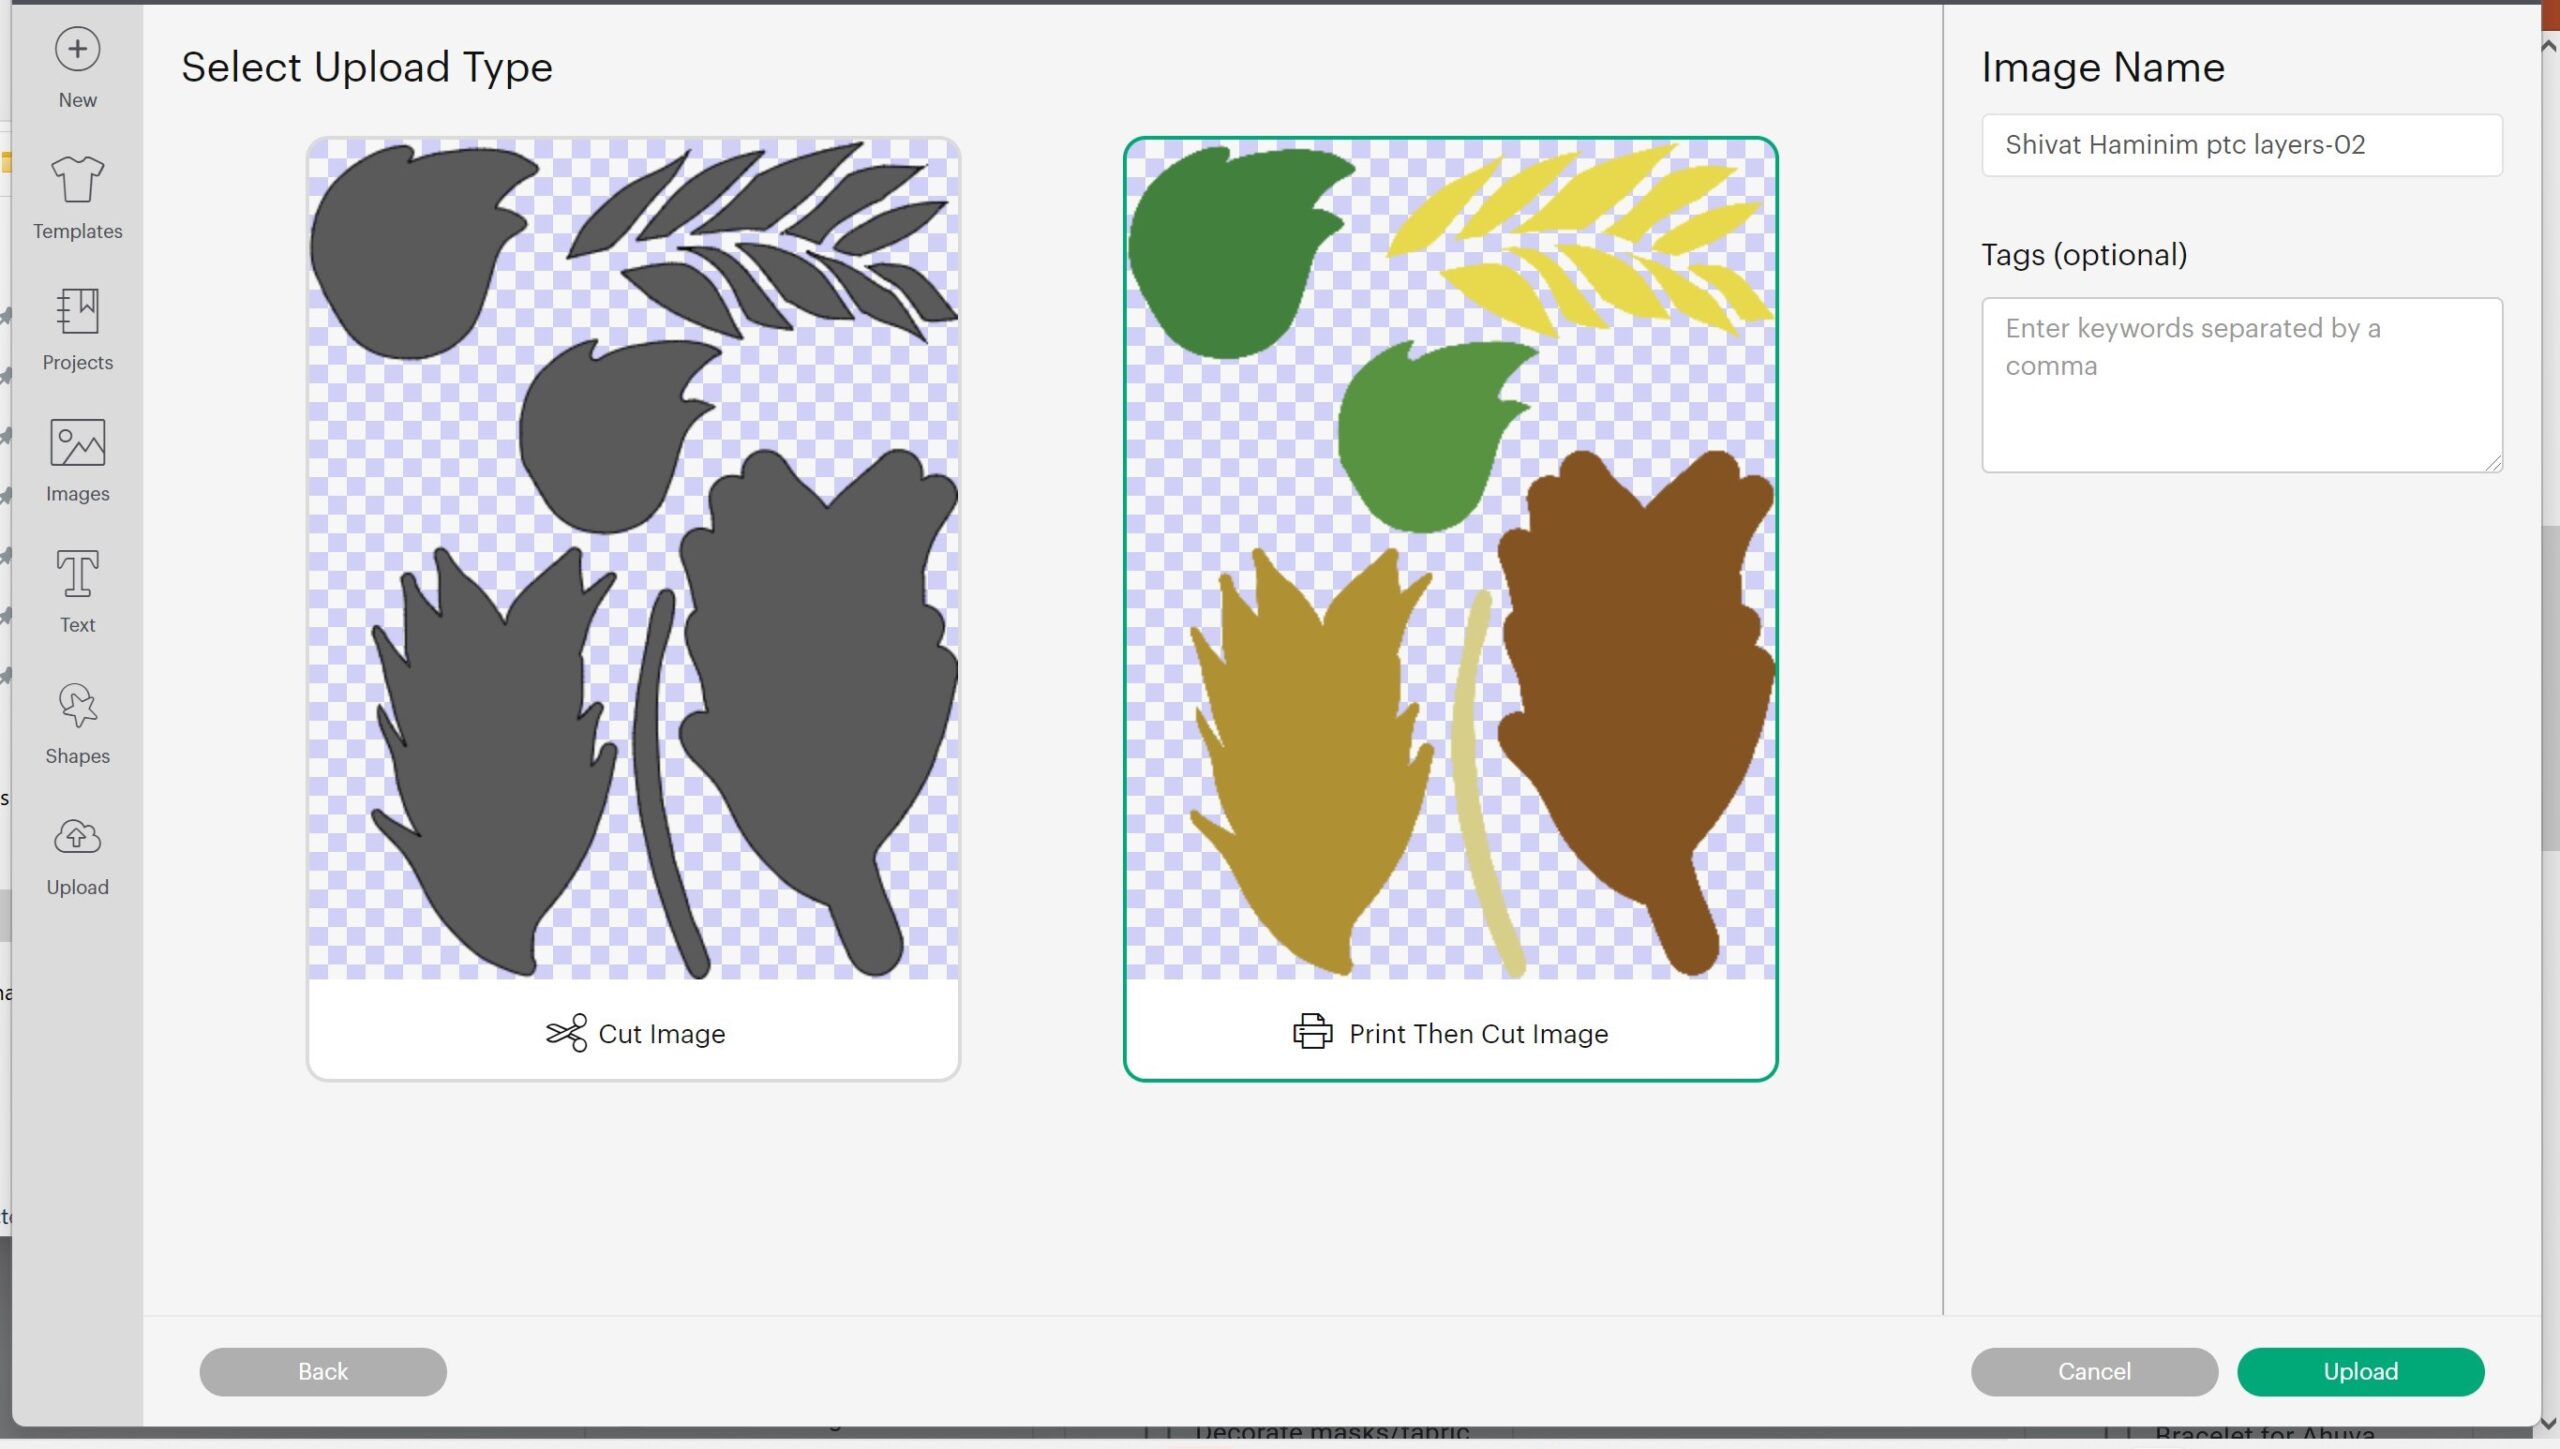
2. On the next screen, choose complex
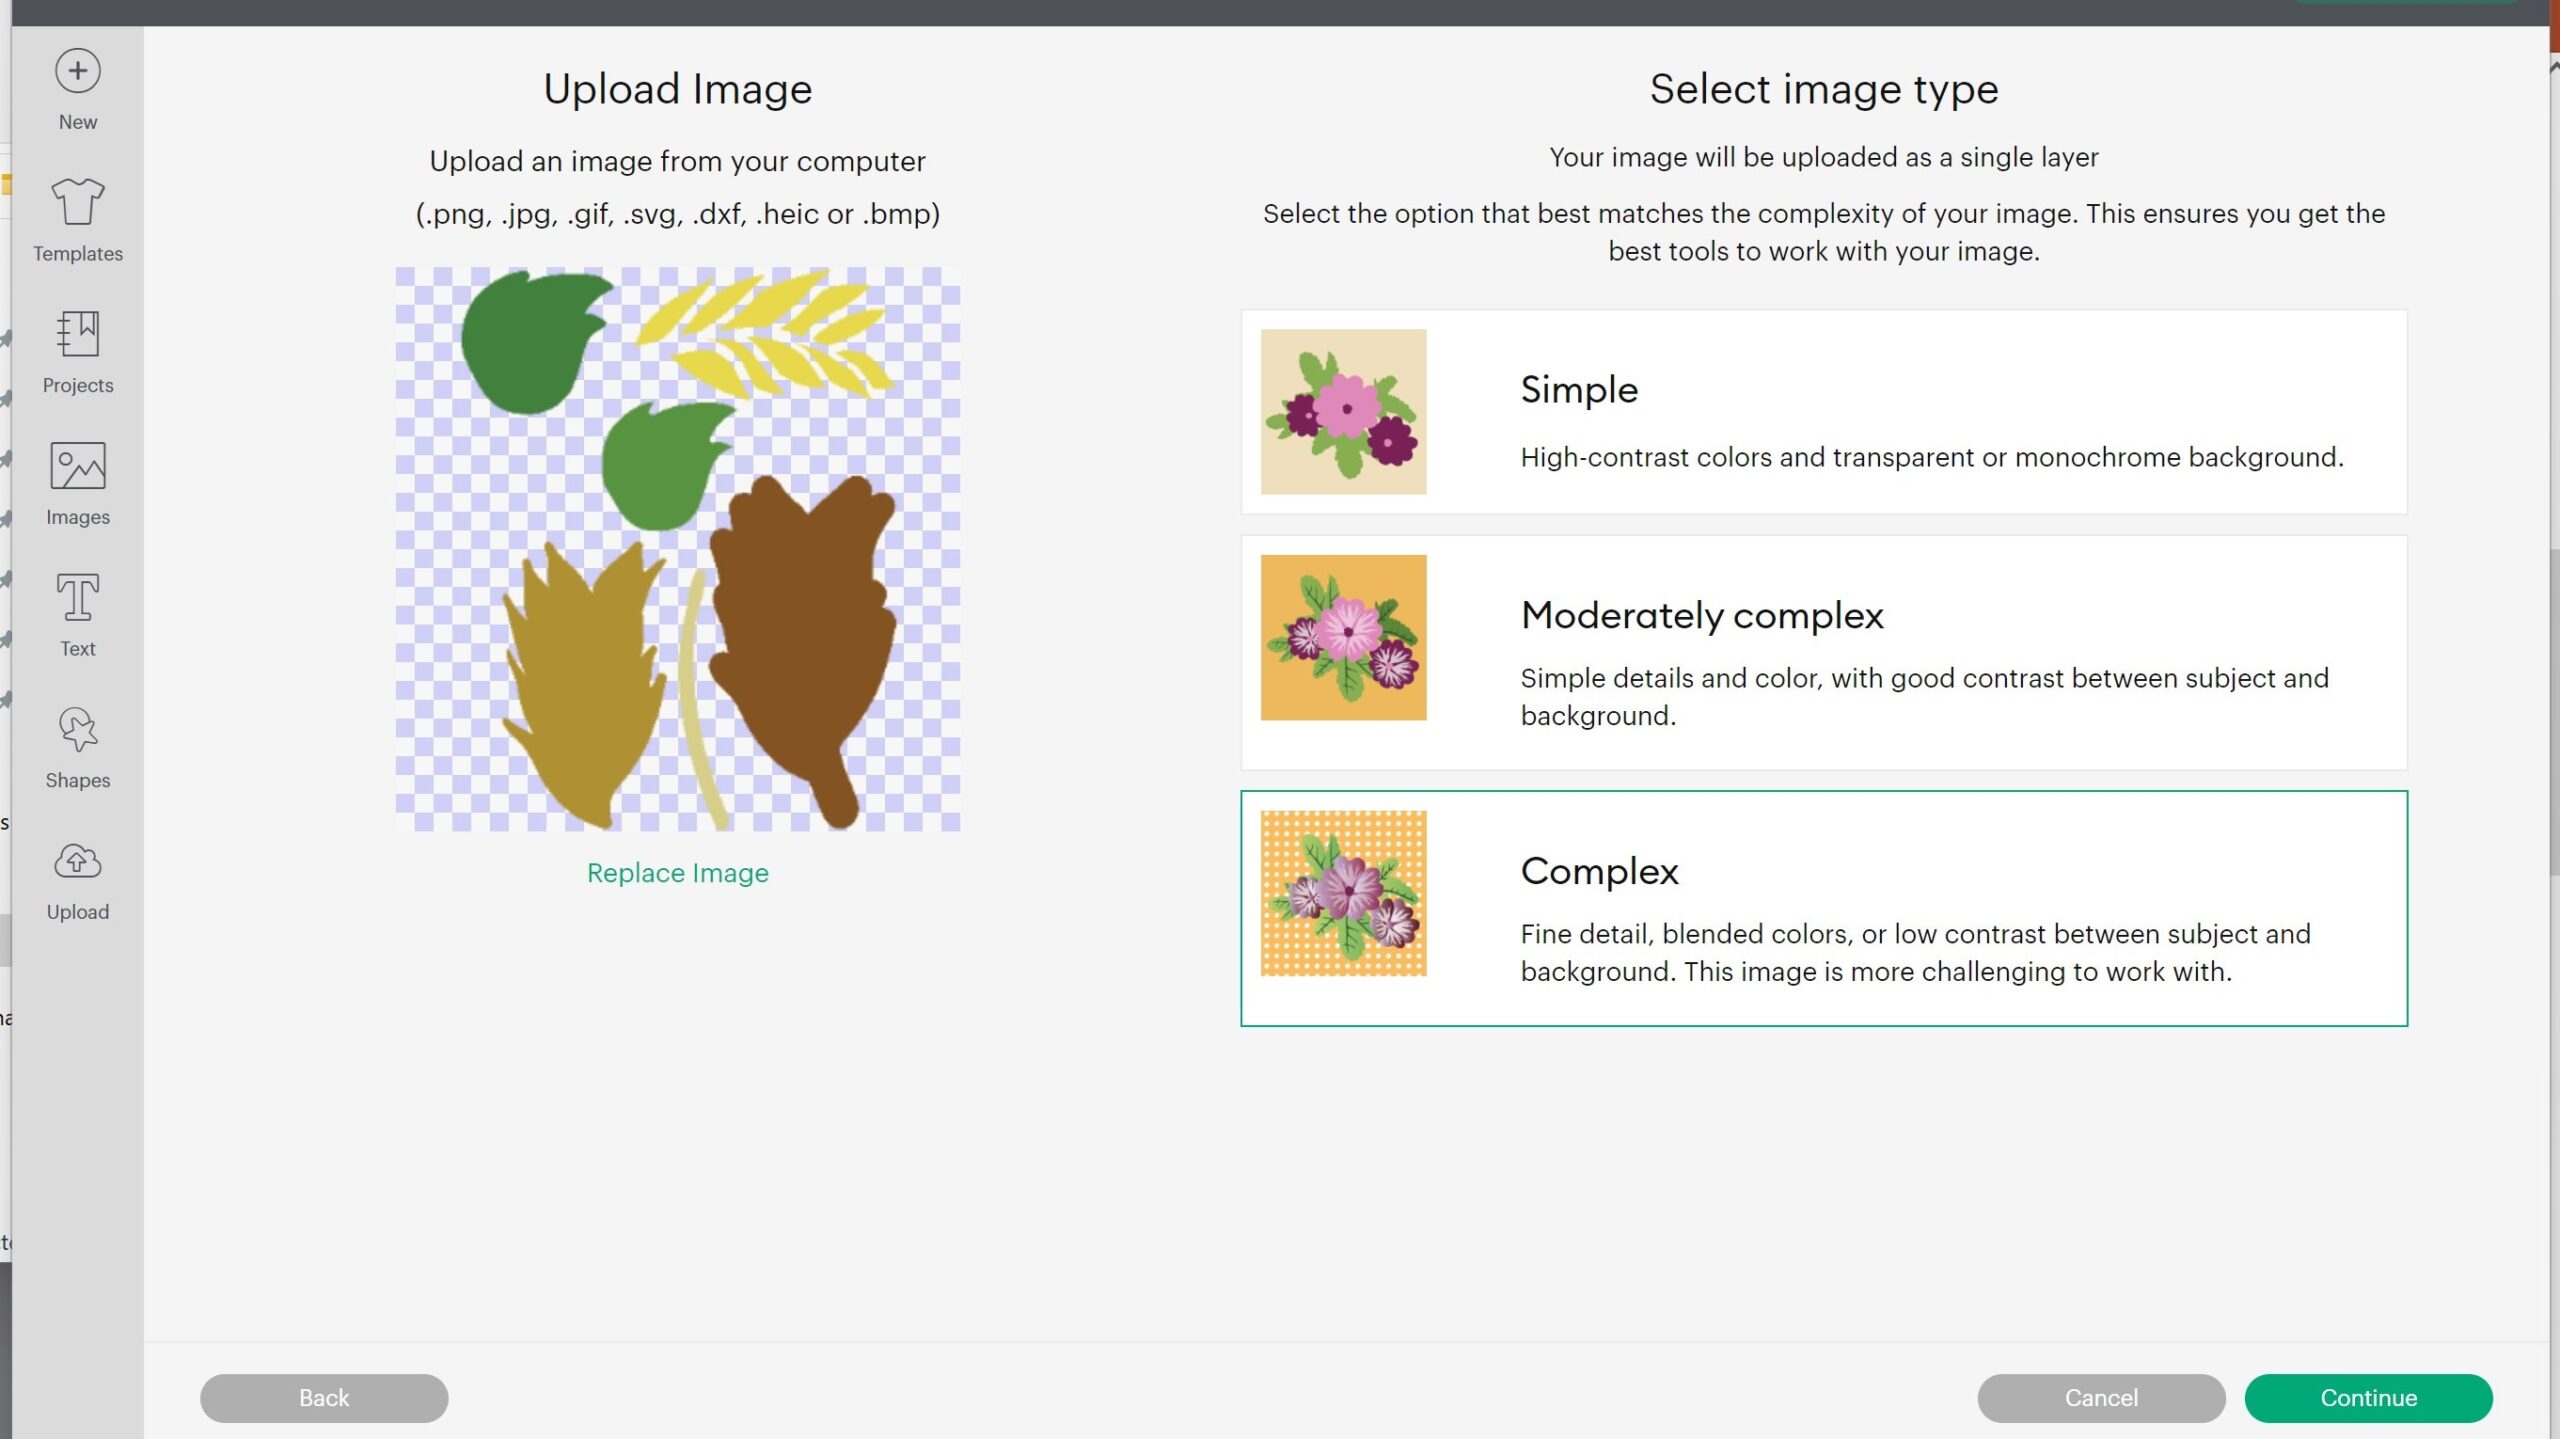
3. Just continue on the next screen since PNG is ready to use. On the next, choose Print then cut
4. Repeat with each image. Select all your images and insert
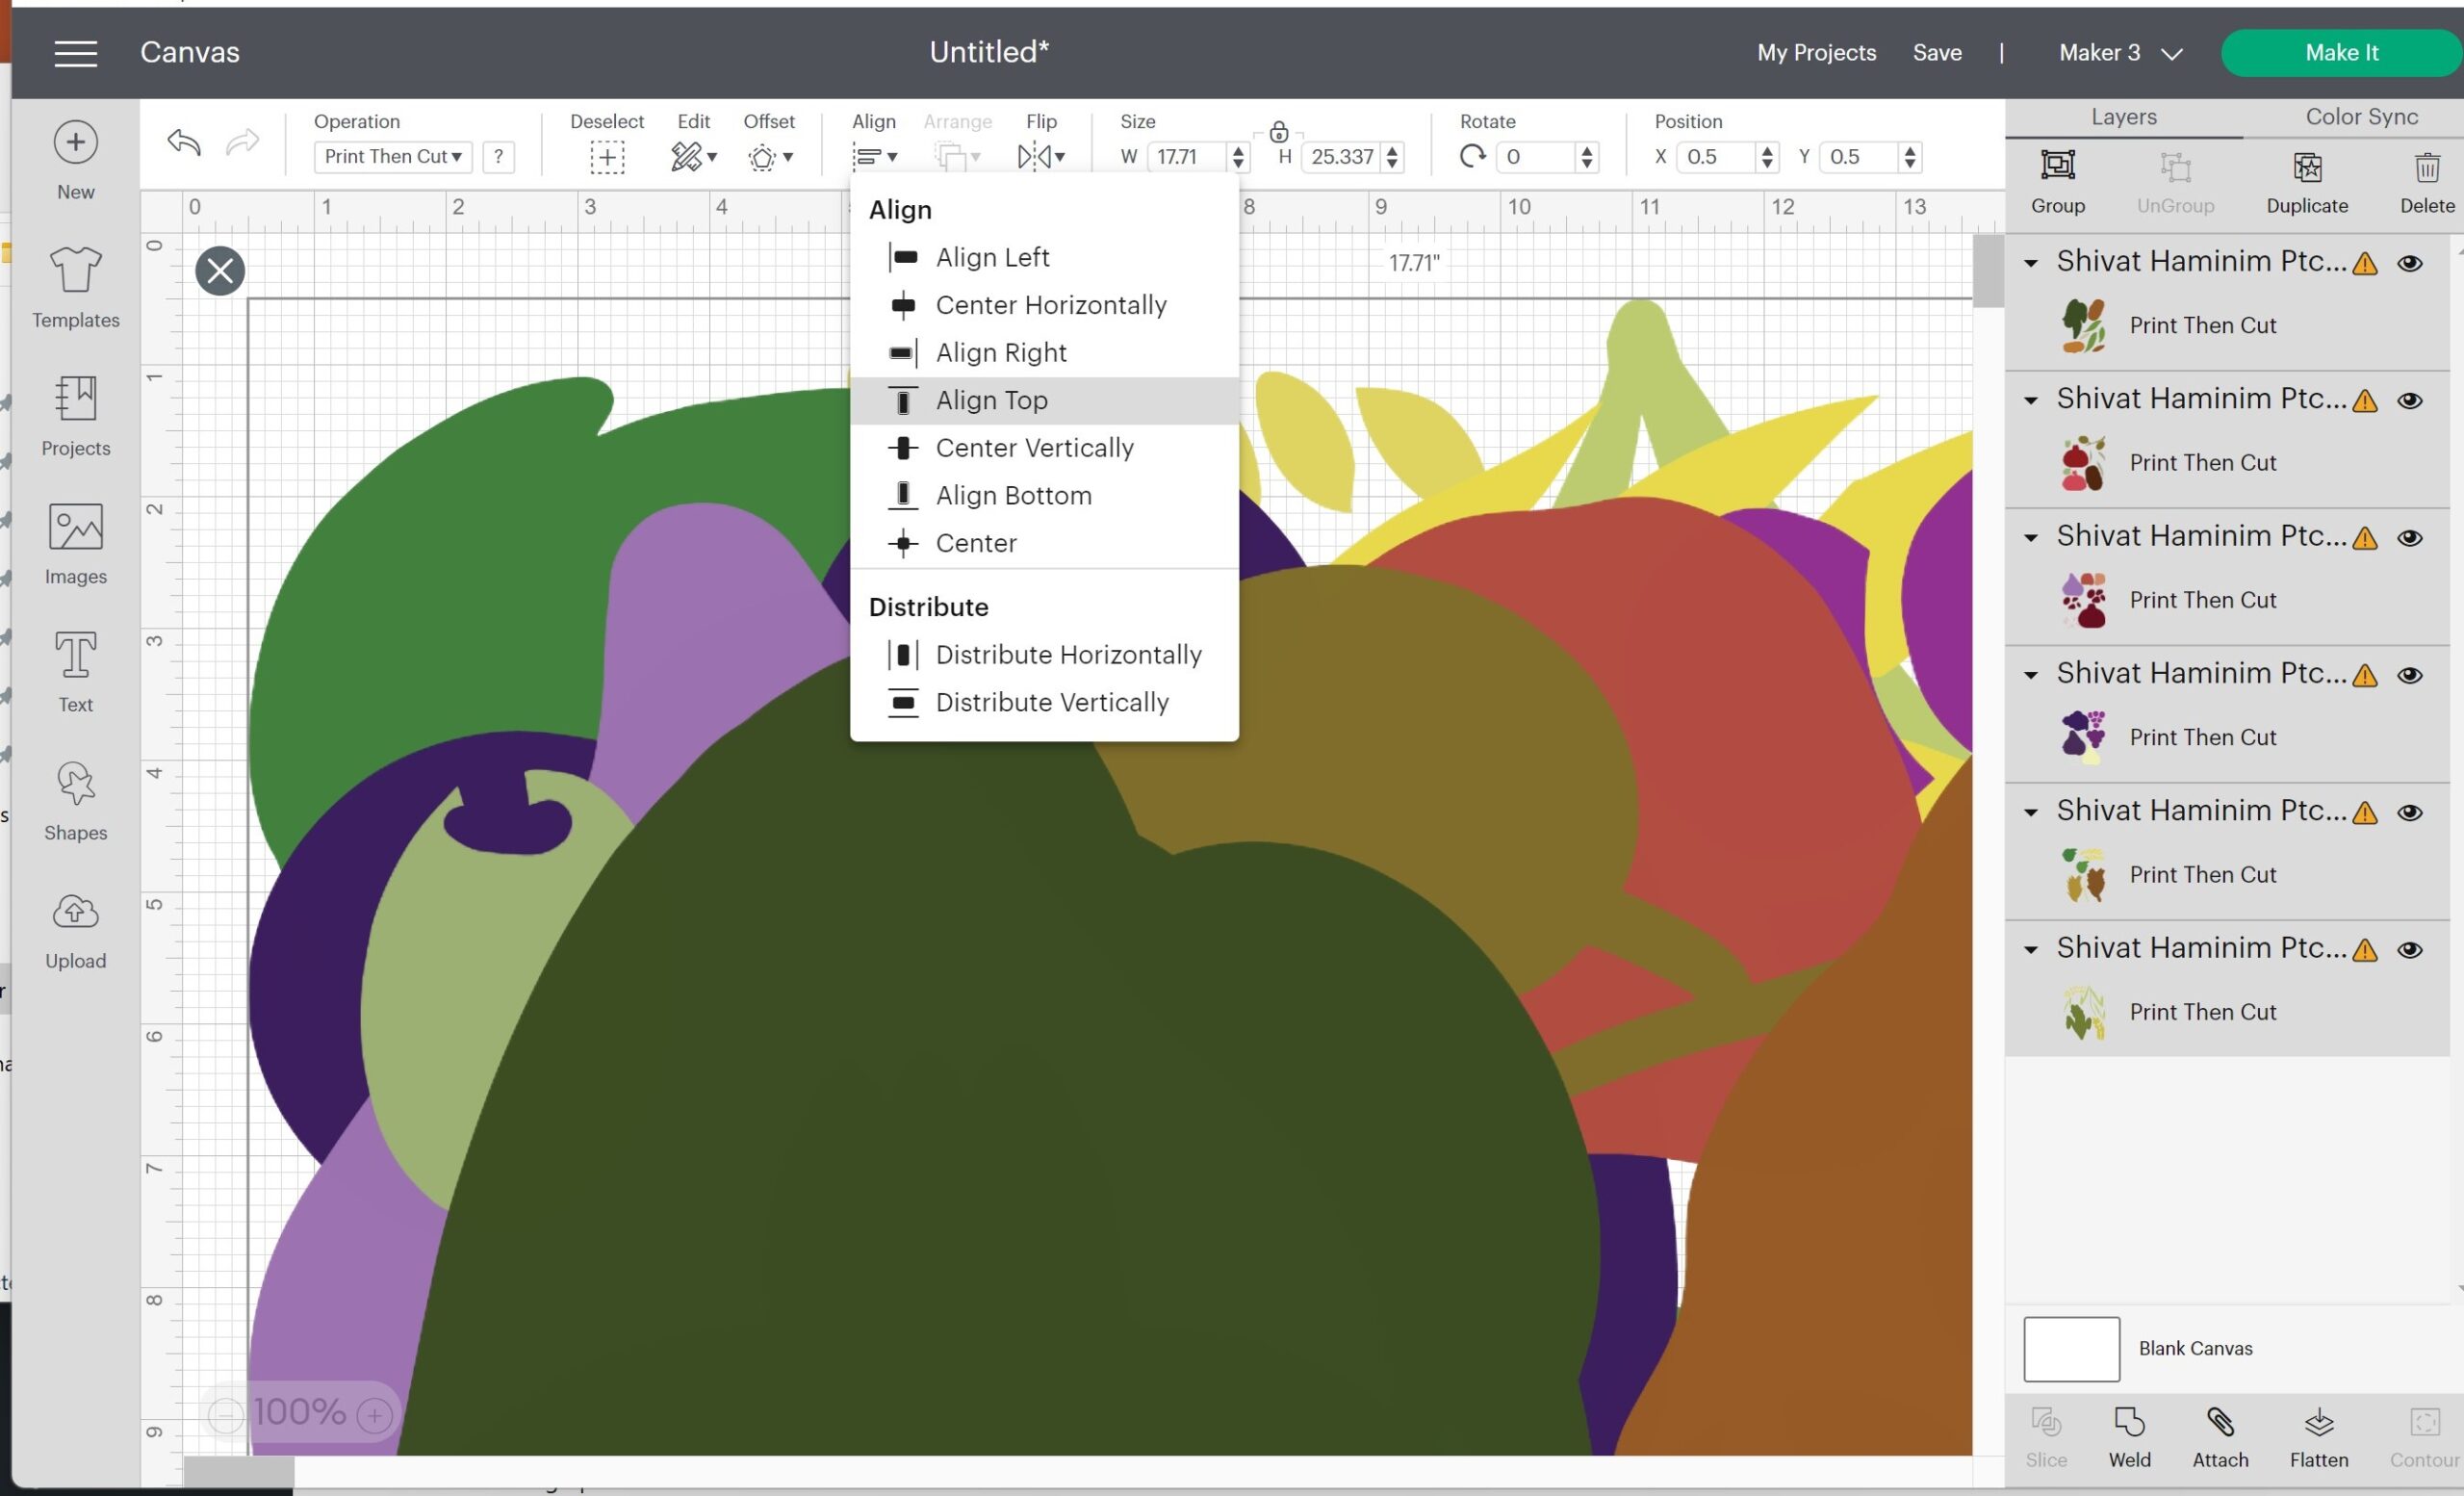
5. With all the images still selected align left and top.
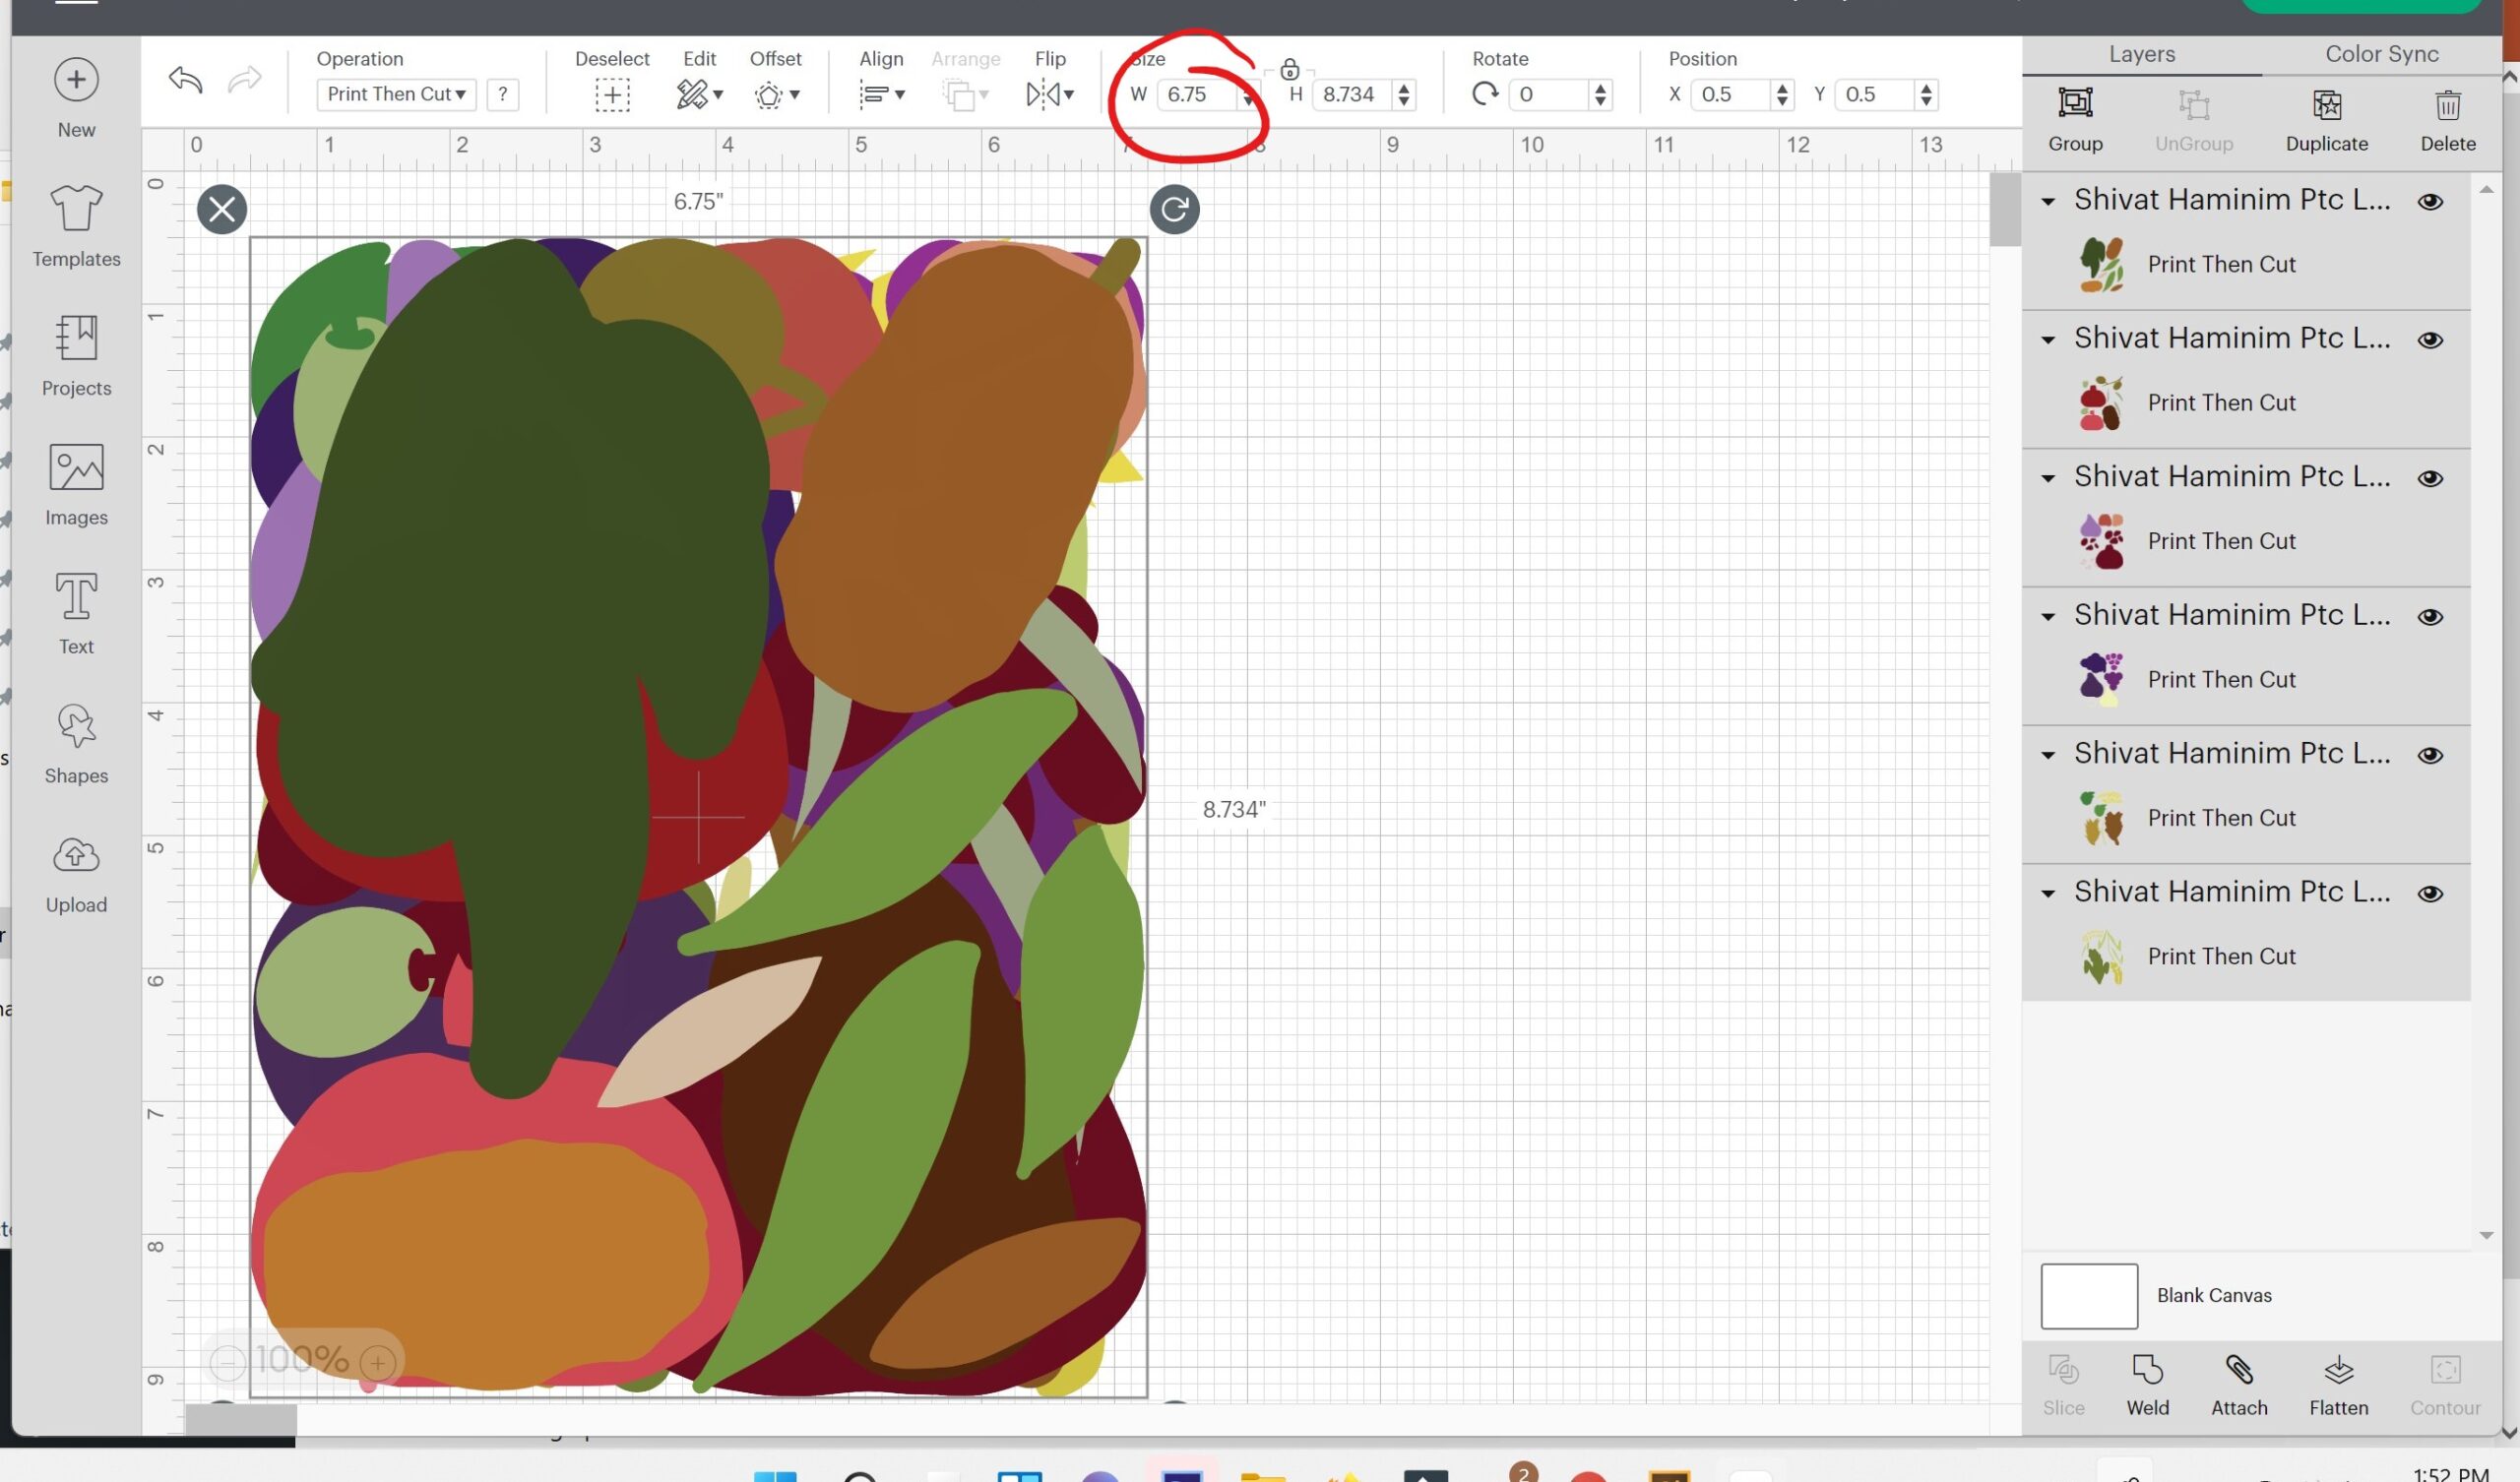
6. Resize the width to 6.75.
Cutting it:
1. When you “Make it” you’ll be prompted to send your project to the printer. Print it out. I recommend that you read more about what is print then cut on Cricut if you haven’t tried it yet.
2. Place your printed page right side up on the top left corner of your mat. Use the brayer to adhere it well.
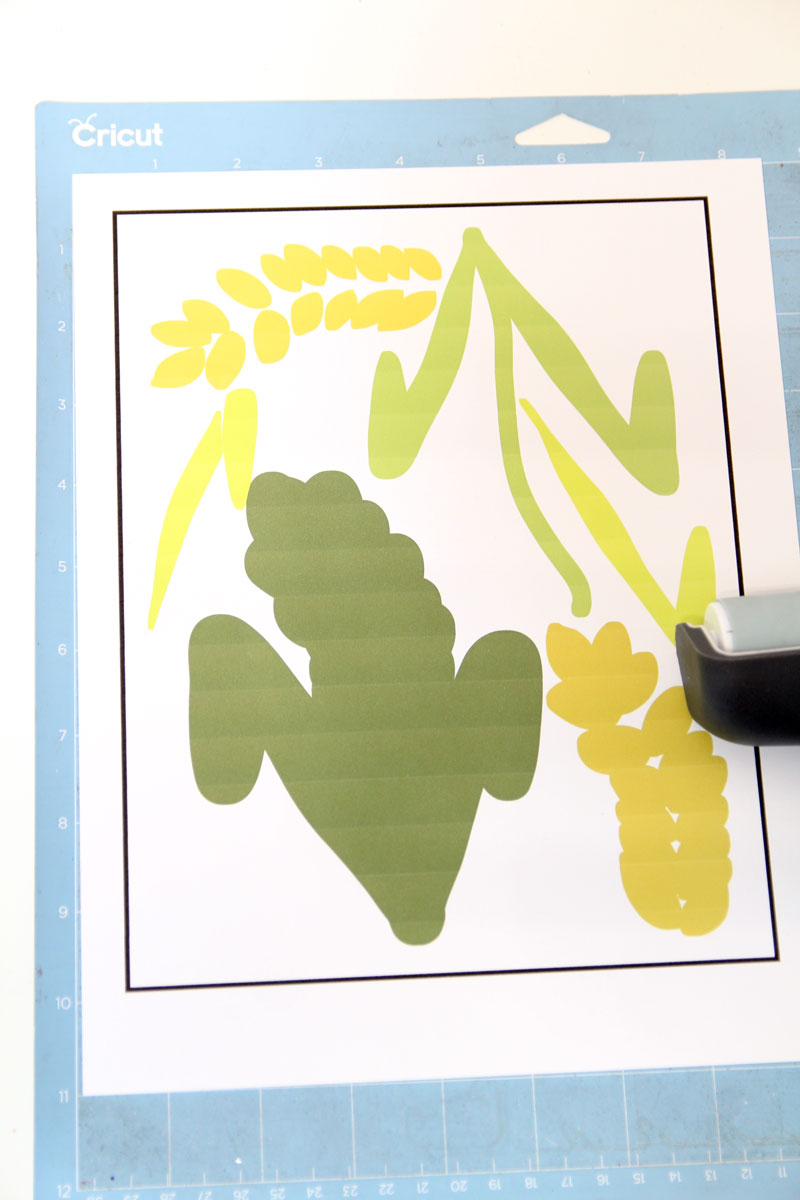
3. Load and when prompted hit “go”. It’ll first scan the border/registration marks and then cut in the right spot. If it doesn’t cut accurately, you need to calibrate your machine.
4. Unload and carefully remove your parts, organizing them as you go along.
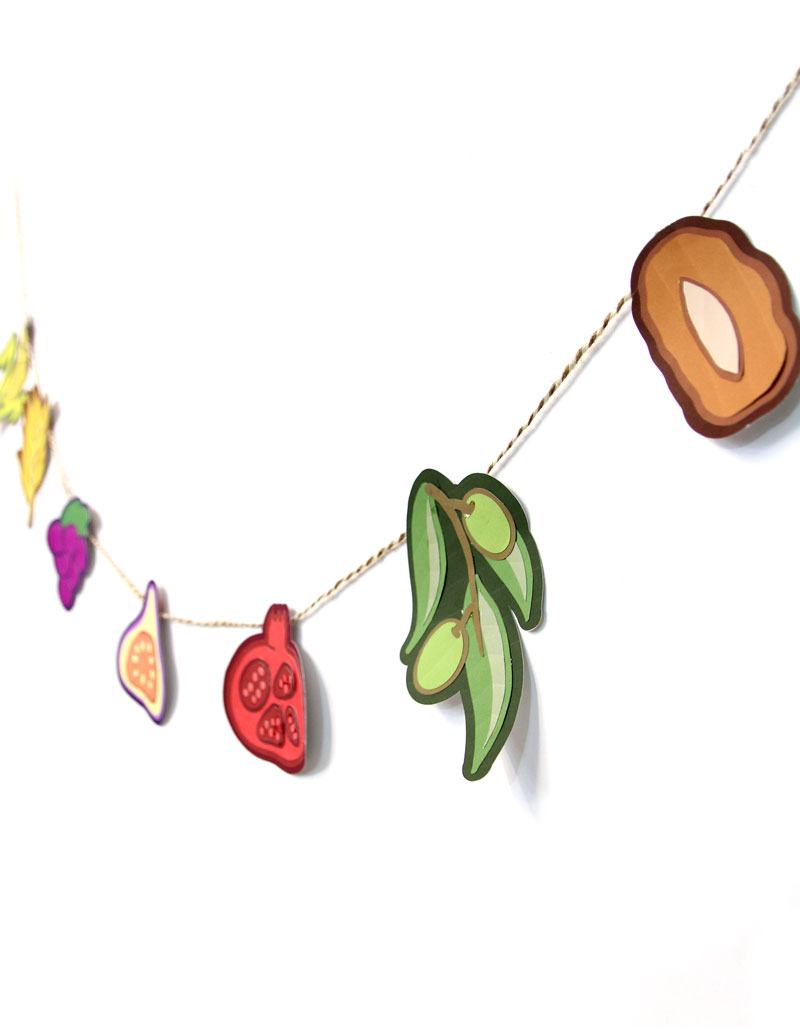
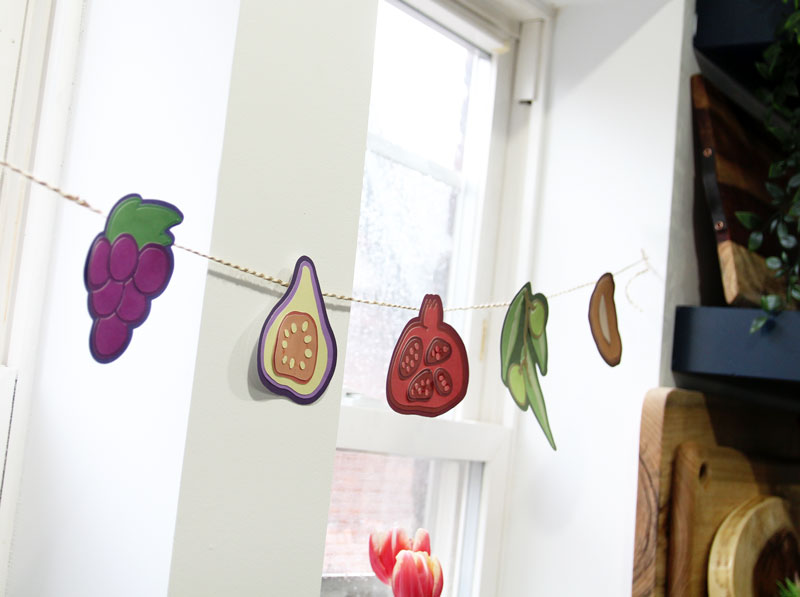
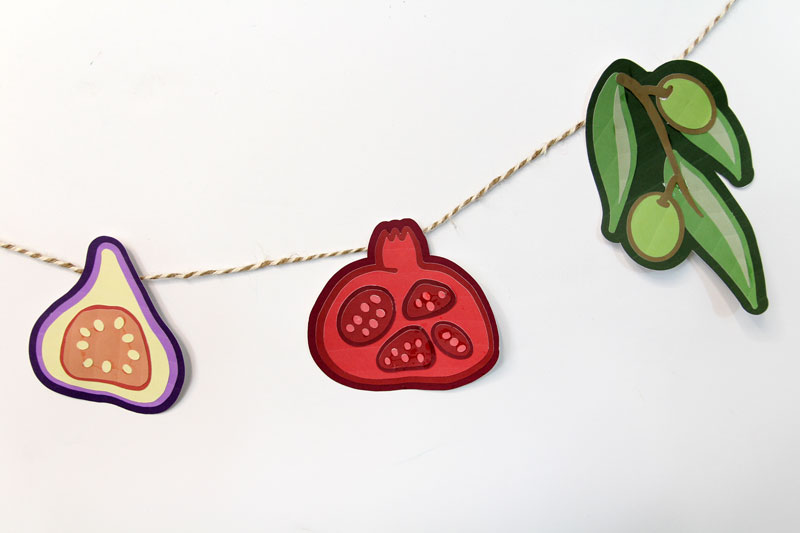
How to Assemble a Paper Fruit Garland
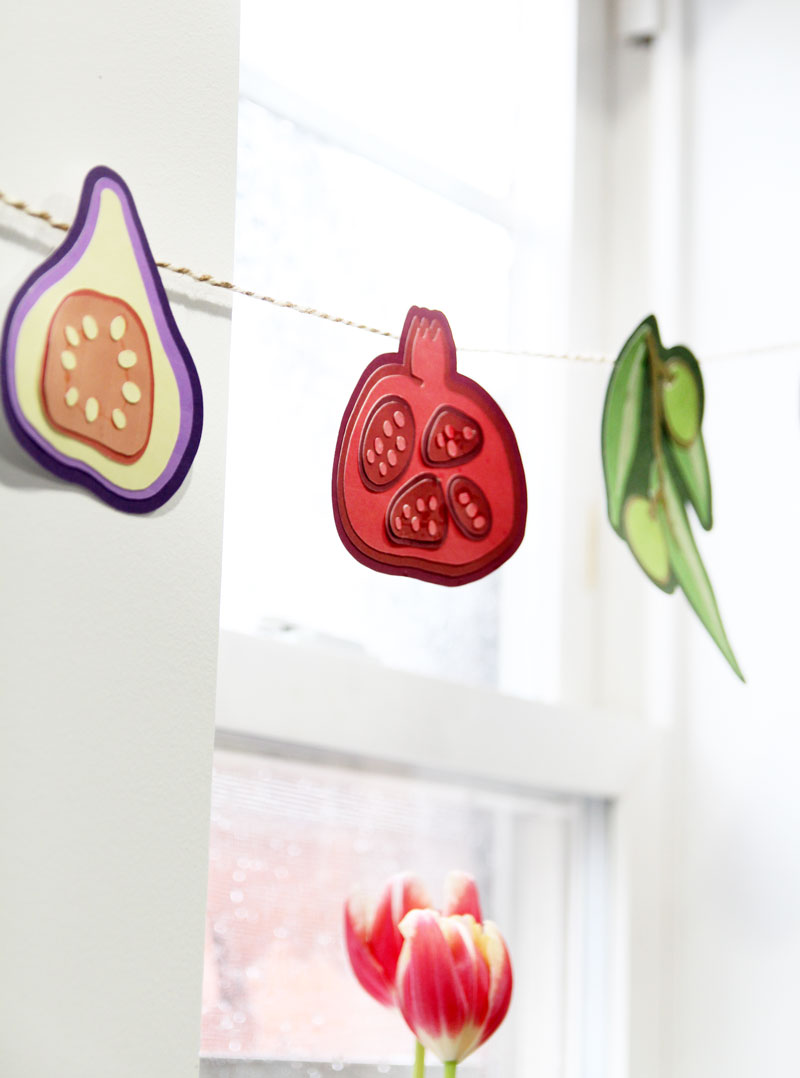
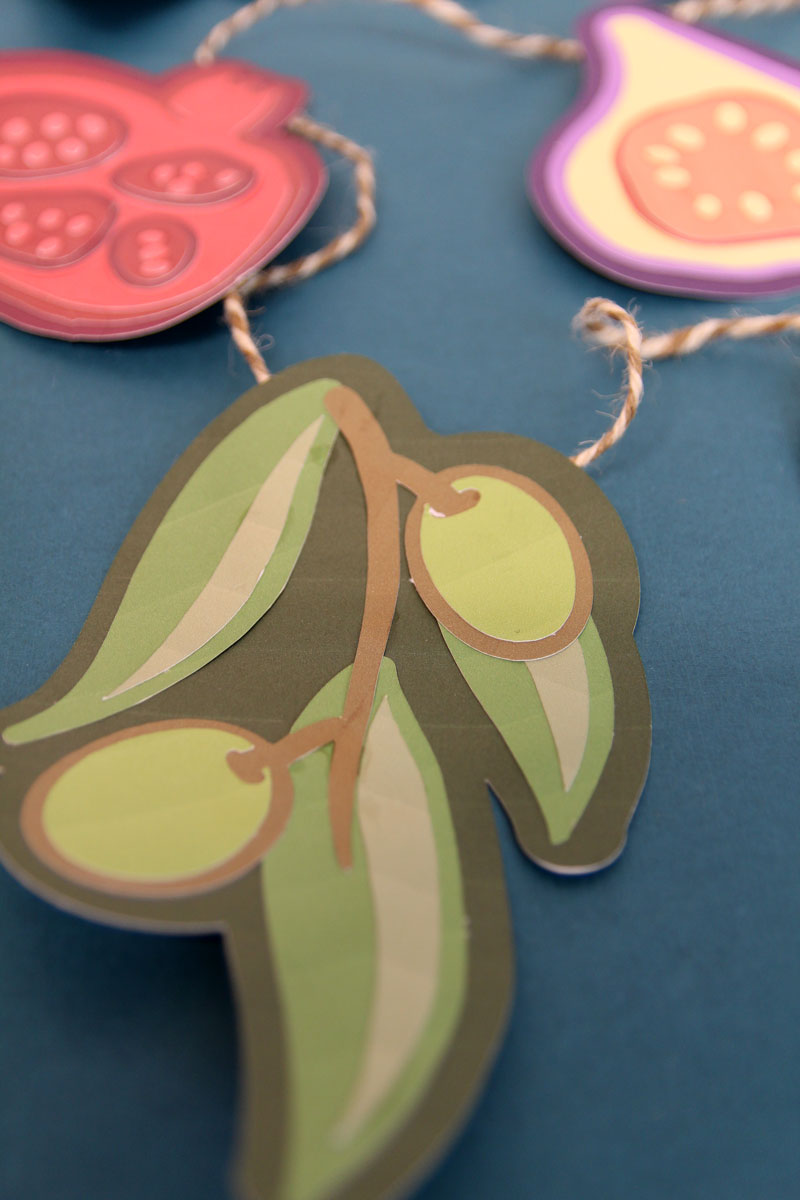
1. Organize your pieces. I included a lot of layers in this for this cool, textured look, however you don’t need to use all. The main point of the background layer is to serve as a solid base for all your parts.
2. Use the reference page – or keep this post open – to assemble your parts.
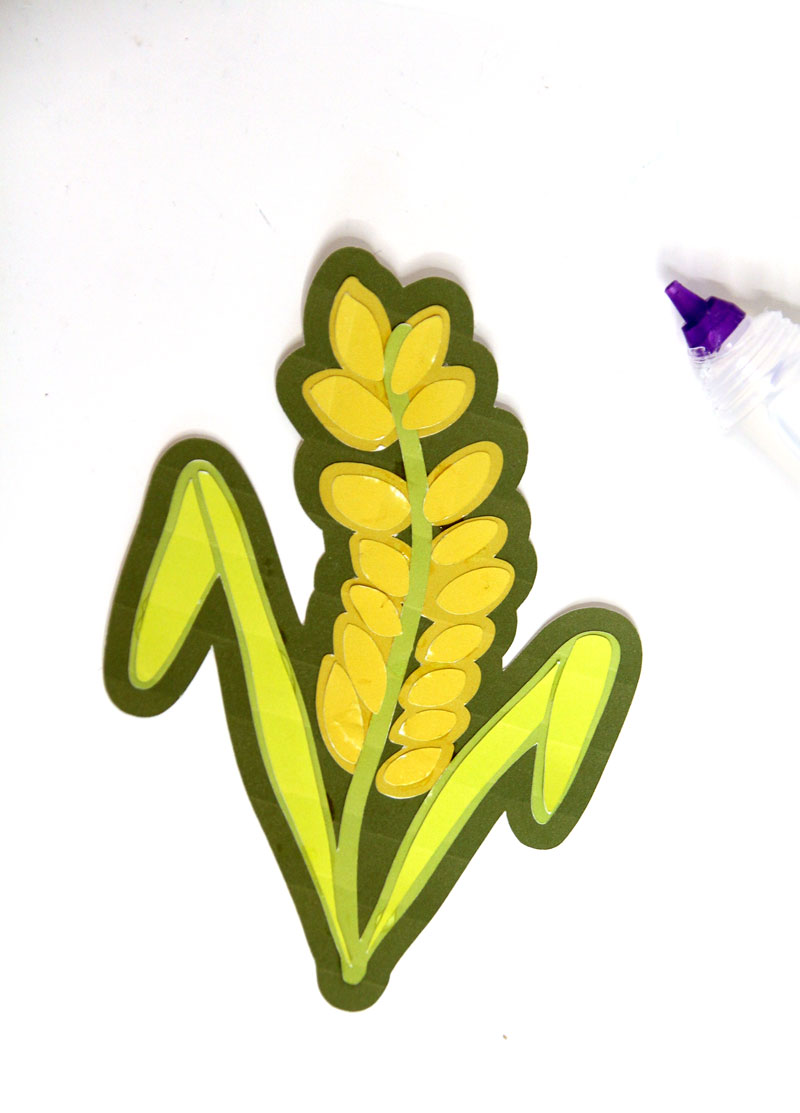
3. For items like the wheat, barley, I recommend leaving it on the mat in place until you glue so that you remember the order. Or place it on a piece of contact paper (right side up so the wrong side is on the sticky part) in order and remove as you need it.
4. If you need help with your seeds, you can cut out the outline and use that as a template. I did that, marking it with a pen and then gluing in those spots. Tweezers would help but mine were lost. Oh well!
5. Place your fruit in order but flipped over, spaced apart as you’d like them. Tape a piece of twine or string on the top back.
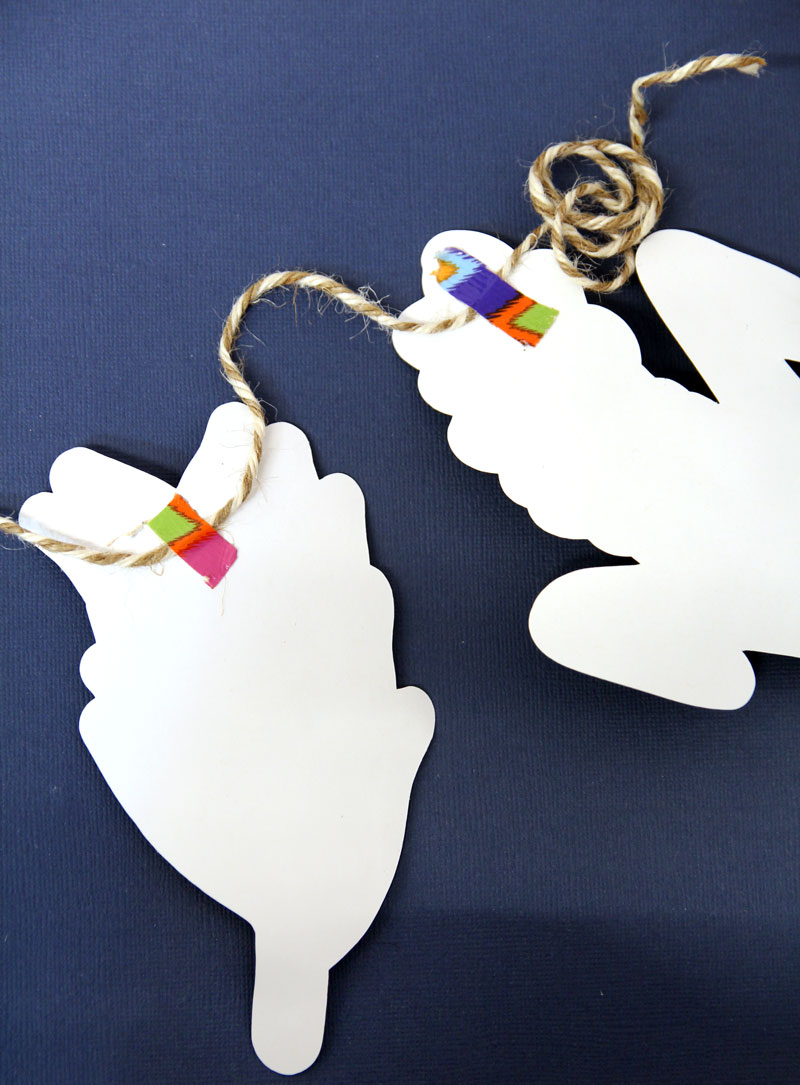
Hang, and enjoy!
Happy Tu B’shvat!
The post Shivat Haminim Craft – Paper Fruit Garland appeared first on Jewish Moms & Crafters.