7 Essential Makeup Tutorials for Dance Beginners
Share
Get ready to shine on stage with these 7 essential makeup tutorials designed specifically for dance beginners! Start with a natural everyday look by applying lightweight foundation and concealer, then add a pop of color with bold lip shades that make a statement. Next, focus on glowing skin by exfoliating and moisturizing regularly. Master dramatic eye makeup with primer, eyeshadow, and liner, and define your features with easy contouring techniques. With these tutorials, you'll be well on your way to a stage-ready look - and with a few more expert tips, you'll be unstoppable!
Key Takeaways
• Master a natural everyday dance makeup look by applying lightweight foundation, concealer, mascara, and subtle blush or bronzer for a fresh appearance.
• Experiment with bold lip colors to make a lasting impression on stage, considering the psychology behind shades and taking inspiration from the Red Carpet.
• Achieve performance-ready glowing skin by exfoliating, moisturizing, and focusing on a skincare routine for a radiant complexion.
• Create a dramatic eye makeup look for dance performances by priming lids, applying dark gray or black eyeshadow, and lining the upper lash line with a black pencil.
• Define features with contouring makeup, using contour powder or cream for shadows and highlighting high points for a natural glow.
Natural Everyday Dance Makeup Look
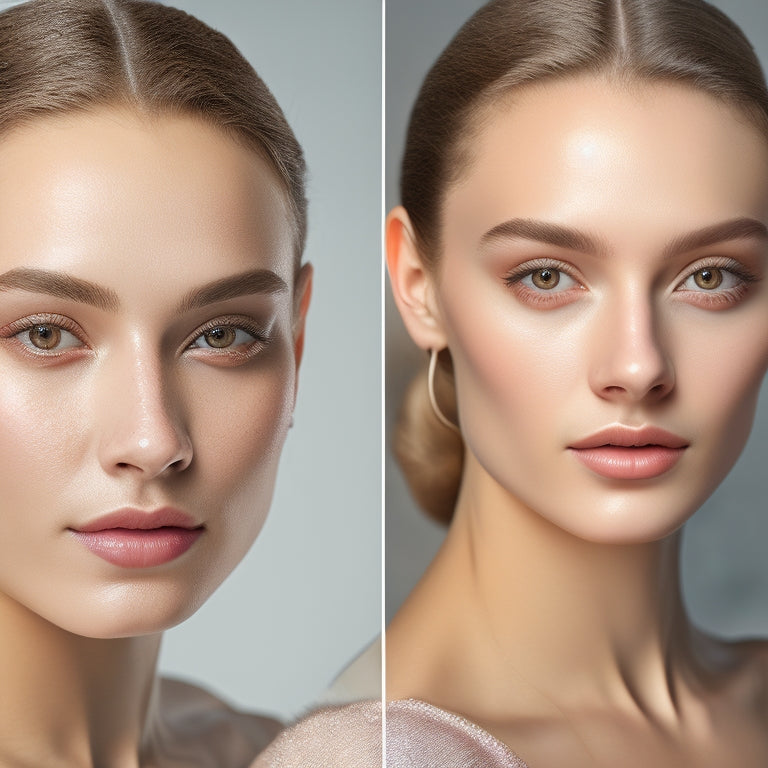
To achieve a natural everyday dance makeup look, start by applying a lightweight foundation that matches your skin tone to even out your complexion. This will provide a smooth canvas for the rest of your makeup.
Next, conceal any blemishes or dark circles under your eyes with a concealer that's one shade lighter than your foundation. Blend, blend, blend! A natural everyday dance makeup look is all about enhancing your features without looking too done-up.
In your morning routine, add a quick swipe of mascara to define your lashes, and a light dusting of translucent powder to set your foundation. These daily essentials will give you a fresh, awake look that's perfect for dance class or a casual rehearsal.
Finish off with a subtle blush or bronzer to give your cheeks a healthy glow. Remember, the goal is to look like you're not wearing much makeup at all! With these simple steps, you'll be ready to take on your day – or the dance floor – with confidence.
Bold Lip Colors for Stage Presence
As you channel your focus from everyday dance makeup to stage-worthy looks, bold lip colors become a key element in making a lasting impression on the audience.
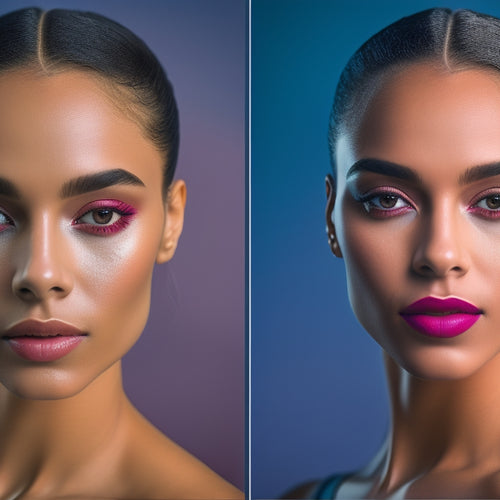
It's time to reveal your inner diva and make a statement with your lip color. When choosing a bold lip color, consider the psychology behind the shade. For example, a bright red lip can evoke feelings of confidence and energy, while a bold pink can convey playfulness and creativity.
Take inspiration from the Red Carpet, where celebrities often opt for bold, eye-catching lip colors to make a lasting impression.
To achieve a bold lip look, start by lining your lips with a pencil, then fill in with a lipstick or gloss. Don't be afraid to experiment with different shades and finishes until you find the one that makes you feel like a star.
Glowing Skin for Performance Ready
Every dance performance requires a radiant, camera-ready complexion, and you can achieve it by building a skincare routine that targets specific skin concerns and enhances your natural glow.
To get started, you'll want to focus on skin exfoliation. Exfoliate your skin 2-3 times a week to remove dead skin cells and unclog pores. Use a gentle exfoliant containing alpha-hydroxy acids (AHAs) or beta-hydroxy acids (BHAs) to break down dirt and impurities.
Next, establish a consistent moisturizing routine to lock in hydration and plump up your skin. Use a lightweight, oil-free moisturizer that won't clog your pores or interfere with your makeup. Apply it immediately after cleansing and toning, while your skin is still damp. This helps your skin absorb the product more effectively.
Don't forget to moisturize your neck and décolletage, as these areas tend to show signs of aging and dryness.
Dramatic Eye Makeup for Dance
Now that you've perfected your radiant complexion, focus on creating dramatic eye makeup that commands attention on stage, starting with a bold, smoky eye that accentuates your features.
To achieve this, prime your lids with a light brown eyeshadow base to bring out the colors. Apply a dark gray or black eyeshadow all over your lid, from lash line to crease. Blend, blend, blend! Use a fluffy brush to soften the edges.
Line your upper lash line with a black pencil and smudge it slightly to create a soft, smoky effect. Finish with a few coats of mascara to make your lashes pop. For an extra dose of Theater Glam, apply a pair of False Lashes to add drama and sophistication.
Easy Contouring for Definition
You're about to master easy contouring for definition, which will enhance your facial features, give you a natural everyday look, and clearly define your cheekbones.
To start, you'll identify the areas of your face where you want to create definition, such as the hollows of your cheeks, your jawline, and your nose.
Enhance Facial Features
By applying a few strategically placed strokes of contouring makeup, you can instantly create the illusion of defined facial features that will make your stage presence pop. To enhance your facial features, focus on creating facial symmetry by identifying the areas of your face that need definition. Use a contour powder or cream that's one shade deeper than your skin tone to create shadows and depth. Apply it to the hollows of your cheeks, the sides of your nose, and the jawline to create the illusion of defined bones.
Next, use a highlighting product to highlight your features. Apply it to the high points of your face, such as the tops of your cheekbones, nose, and cupid's bow. This will help to create a natural-looking glow and accentuate your features.
Natural Everyday Look
To achieve a natural everyday look that still provides definition, start by using a light hand when applying contour products, as subtlety is key to enhancing your features without looking too done-up.
Begin by applying a small amount of contour powder or cream to the hollows of your cheeks, just above the nostrils, and along the jawline. Blend, blend, blend! Make sure to feather the product out towards the hairline and edges of the face to create a seamless shift.
Next, focus on defining your forehead and nose. Use a light touch to apply a slightly darker shade of contour product to the sides of your forehead, just above the eyebrows, and down the bridge of your nose. Blend upwards and outwards to create a natural-looking definition.
Define Cheekbones Clearly
Pop the contour product onto the high points of your cheekbones, tracing the curve from the center of your face outwards towards your hairline, creating a seamless gradient that defines your features. This is where the magic happens! By emphasizing the natural curves of your facial anatomy, you'll create a stunning definition that enhances your overall appearance.
Next, use a light hand to blend the product upwards and outwards, feathering the edges so the contour melts into your skin. This will prevent harsh lines and guarantee a natural-looking finish. Remember, the goal is to create the illusion of defined cheekbones, not to create a harsh, sculpted look.
To take your contouring to the next level, try using sculpting techniques to enhance your facial structure. Focus on the areas where your cheekbones naturally curve, and use gentle, sweeping strokes to build depth and dimension. With practice, you'll be a pro at defining those cheekbones and taking your stage presence to the next level!
Quick Fix Makeup for Rehearsals
Get ready to master a quick fix makeup look that will take you from zero to rehearsal-ready in no time, perfect for those early morning dance sessions when every minute counts. Your Fast Fix morning routine should focus on enhancing your natural features without looking too done-up.
| Product | Amount | Application |
|---|---|---|
| Tinted Moisturizer | 1-2 pumps | Apply with fingers, blending into skin |
| Concealer | 1-2 dots | Pat under eyes, blending upwards |
| Mascara | 1-2 coats | Wiggle from base to tip of lashes |
| Brow Gel | 1-2 swipes | Comb through brows, shaping as desired |
| Lip Balm | 1-2 swipes | Apply to lips, blotting with a tissue |
This quick fix makeup look is designed to be simple, speedy, and effective. Remember, the goal is to look polished without looking like you're wearing a lot of makeup. By following these easy steps, you'll be rehearsal-ready in no time, with a natural, radiant glow that's perfect for your morning dance sessions.
Stage-Ready Smoky Eye Tutorial
You're about to create a show-stopping smoky eye that'll make your dance performance unforgettable!
To start, you'll need to apply a base color all over your lid, from lash line to crease, using a fluffy brush and a light, sweeping motion.
Next, you'll focus on defining the crease, where you'll use a darker shade to add depth and dimension to your eyes.
Eye Shadow Application
Applying eye shadow with precision and control is essential for a stage-ready smoky eye, so start by priming your lids with an eyeshadow primer to create an even canvas for the colors to come.
Now, it's time to choose your colors! Consider the color theory principles of contrast and harmony to select shades that'll make your eyes pop. For a smoky eye, you'll need a light, medium, and dark shade. Place the lightest shade all over your lid, from the lash line to the crease. This will act as your blending shade, merging seamlessly into the next color.
Next, apply the medium shade on the outer corner of your eye, starting from the lash line and working your way up to the crease. Use a fluffy brush to buff out any harsh lines, ensuring a seamless blending. Shadow placement is key here, so focus on building the color gradually, starting from the lash line.
Defining the Crease
With your lid and outer corner expertly shaded, now it's time to add depth and dimension to your smoky eye by defining the crease with a darker shade that will make your eyes stand out under the stage lights. To do this, you'll need to master crease techniques that will enhance your eye architecture.
Using a fluffy crease brush, pick up a small amount of a darker shade of eyeshadow – about one to two shades deeper than your lid color. Gently sweep the brush back and forth in the crease, starting from the outer corner and working your way inward. Make sure to keep your brush strokes light and soft, as you want to build up the color gradually.
As you work on defining the crease, remember to blend, blend, blend! You want the colors to flow smoothly, creating a smooth, multi-dimensional look. Take your time and be patient – this step requires a bit of finesse, but trust us, the payoff is worth it.
With a well-defined crease, you'll be ready to take the stage by storm!
Frequently Asked Questions
Can I Use Expired Makeup for Dance Performances?
'Don't risk it, darling! Expired makeup can compromise your skin's health and performance quality. Check the Product Shelf life, prioritize Makeup Safety, and refresh your stash to guarantee a flawless, confident you on that dance floor!'
How Do I Prevent Makeup From Getting Sweaty on Stage?
"Practice makes perfect," so don't stress about sweaty makeup on stage! You'll be Stage Ready with these tips: prime your skin, use Sweat Proof products, set with powder, and set your look with setting spray.
Are There Any Makeup Products Suitable for Sensitive Skin?
'When searching for makeup suitable for your sensitive skin, you'll want to opt for hypoallergenic options, and always perform a skin test before applying a new product to make sure you don't have any adverse reactions.'
Can I Use Waterproof Mascara for Dance Performances?
When you're getting ready for a dance performance, you can definitely use waterproof mascara to enhance your eyes. Apply a light coat to define your lashes, then layer for added drama, ensuring a smudge-free, eye-catching look that lasts.
How Often Should I Replace My Makeup Brushes?
"Did you know 72% of makeup users don't clean their brushes regularly? You should replace your makeup brushes every 3-6 months or sooner if you notice bristle wear. Clean your brushes weekly with gentle soap and water to maintain good makeup hygiene."
Related Posts
-

Why Lyrical Dancers Need Pro Makeup Guidance Online
As a lyrical dancer, you know that a polished, performance-ready look is essential to showcasing your skills and conv...
-

Dance Props to Take Choreography to the Next Level
Dance props are your secret weapons for altering choreography into a breathtaking masterpiece. They breathe life into...
-

Unlock Your Creativity With Dancing Sublimation File
Dancing Sublimation File is a creative catalyst that opens up a world of vibrant design possibilities, providing high...


