5 Best DIY Costume Embellishment Tutorials for You
Share
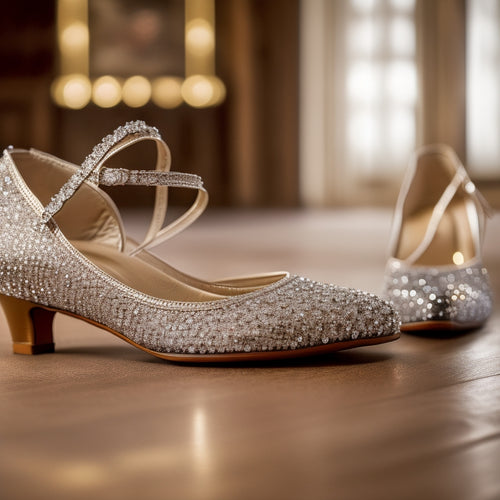
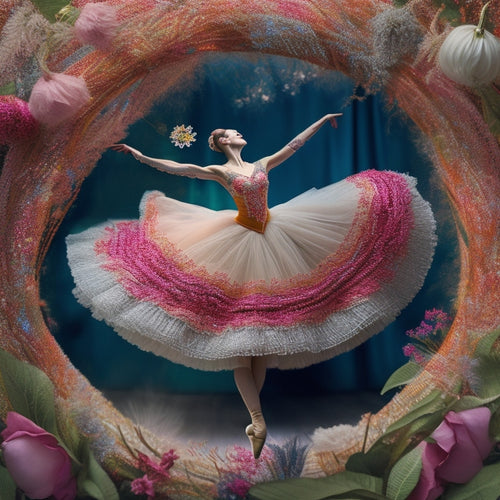
You're about to elevate your costume game to the next level with these 5 DIY embellishment tutorials! Sparkling sequins and beads can enhance your design, while fabric painting adds unique hand-painted elements. Add glamour with shimmering rhinestones and appliques or revamp your belly dance costume with tassels, fringe, and more. For an opulent look, incorporate glittering coins and trims. Follow these tutorials to add a personal touch to your outfit. With patience and creativity, you'll create stunning costumes that shine. Now, get ready to discover more secrets to taking your costume to new heights...
Key Takeaways
• Utilize sequins and beads to elevate costume designs with hot fix tools or adhesive for sparkling embellishments.
• Add unique, hand-painted elements to costumes with fabric painting using stencils, stamps, or free-hand techniques.
• Incorporate shimmering rhinestones and appliques to add glamour and sophistication to costumes with structured or scatter designs.
• Repurpose old or thrifted pieces to refresh belly dance costumes with added tassel accents, fringe details, and colorful textures.
• Create opulent costume embellishments with glittering coins and trims using Trim Folding techniques and hot fix rhinestones or sequins.
Sparkling Sequins and Bead Embroidery
You'll regularly find yourself reaching for sequins and beads to add a touch of glamour to your DIY costume creations. These tiny embellishments can instantly elevate your costume from ordinary to extraordinary.
When working with sequins, start by creating a sequin pattern on your fabric using a hot fix tool or a strong adhesive. You can create intricate designs or simple, scattered patterns, depending on the look you're going for.
For a more elaborate design, try bead weaving, which involves threading beads onto a wire or yarn to create intricate designs. You can use beads of varying sizes, shapes, and colors to create unique and eye-catching patterns.
When working with beads, make sure to use a sturdy needle and a comfortable workspace to avoid fatigue and discomfort. Remember to take breaks and stretch your hands and wrists to avoid strain.
With a little patience and practice, you'll be creating stunning, sparkling designs that will make your DIY costume stand out.
Fabric Painting for Unique Designs
With your sequins and beads securely in place, turn your attention to fabric painting, a versatile technique that lets you create one-of-a-kind designs and patterns on your DIY costume fabric. This fabric technique allows you to add unique, hand-painted elements that elevate your costume to the next level. To get started, choose your fabric paint and brushes, and make sure to follow the manufacturer's instructions for preparation and use.
For a more subtle look, try using stencils or stamps to create intricate patterns and designs. If you're feeling bold, experiment with free-hand painting to create painterly effects that add texture and visual interest to your fabric.
Remember to work in a well-ventilated area and use protective gloves to guarantee your safety. With a little practice and patience, you'll be creating stunning, one-of-a-kind designs that make your DIY costume truly unforgettable.
Shimmering Rhinestones and Appliques
Sparkling rhinestones and intricately designed appliques can elevate your DIY costume from ordinary to extraordinary, adding a touch of glamour and sophistication to your overall look. To create stunning rhinestone clusters, start by selecting the perfect rhinestones for your costume's color scheme and theme.
You can use hot fix rhinestones, which can be applied using a hot fix tool, or flat back rhinestones, which require a strong adhesive. Next, arrange the rhinestones into a design or pattern that complements your costume. You can create a random scatter effect or a more structured design, depending on your desired look.
When working with appliques, start by selecting a pattern that matches your costume's theme. You can find applique patterns online or create your own using fabric paint, glitter, or other embellishments. To apply the applique, use a hot glue gun or a strong fabric adhesive, making sure to follow the manufacturer's instructions for safety.
With a little creativity and patience, you can add shimmering rhinestones and intricately designed appliques to your DIY costume, taking it from basic to breathtaking.
Belly Dance Costume Revamp Ideas
Give your belly dance costume a fresh spin by repurposing old or thrifted pieces, injecting new life into tired fabrics and embellishments. You can transform a lackluster costume into a stunning showstopper with a few clever tweaks.
Start by adding tassel accents to your bra or belt. Simply attach tassels to a ribbon or string and tie them around your waist or attach them to your bra straps. This will add a dynamic, eye-catching element to your costume.
Next, update your skirt or pantaloons with fringe details. You can add fringe to the hem of your skirt or pantaloons using hot glue or a needle and thread. This will create a mesmerizing movement effect as you dance. You can also add fringe to your arm bands or headpiece for added flair.
Don't be afraid to experiment with different colors, textures, and lengths to create a unique look that's all your own. With these simple yet impactful tweaks, you'll be ready to shimmy and shine on the dance floor!
Glittering Coin and Trim Decorations
Add an extra layer of opulence to your belly dance costume by incorporating glittering coins and trims that catch the light as you move. You can create a stunning coin purse embellishment by gluing coins onto a fabric backing, then attaching it to your costume. This adds a touch of glamour and sophistication to your overall look.
To take your costume to the next level, try these trim decoration ideas:
-
Use Trim Folding techniques to create intricate designs and patterns on your costume. You can fold the trim into accordion-like pleats or create a ruffled effect for added texture.
-
Apply hot fix rhinestones or sequins to your trim for extra sparkle.
-
Experiment with layering different trims and fabrics to create a unique, eye-catching look.
Remember to always use safety precautions when working with hot fix tools and scissors to avoid accidents.
With these tips, you'll be shining like a star on stage in no time!
Frequently Asked Questions
How Do I Properly Clean and Maintain My DIY Costume Embellishments?
"Listen up, crafty mastermind! To keep your DIY costume embellishments sparkling, gently dust them with a soft-bristled brush, then mist with a fabric finish protector for long-lasting shine and dust protection - voilà, your creations are safe and stunning!"
Can I Use Hot Glue on Delicate or Antique Fabrics?
When working with delicate or antique fabrics, avoid using hot glue, as it can damage or discolor them. Instead, test a small, inconspicuous fabric area with a gentle adhesive, and consider alternatives like fabric glue or needle and thread.
What Is the Best Way to Store My DIY Costume Pieces When Not in Use?
Did you know 70% of DIYers store their creations improperly, risking damage? You'll avoid this by using climate control, folding fabrics carefully, storing pieces in protective wrapping and labeled bins, and utilizing closet organization systems for safekeeping.
How Do I Prevent Beads or Sequins From Falling off Over Time?
To prevent beads or sequins from falling off, you'll want to choose an adhesive with strong bonding strength and pair it with a durable thread type, like nylon or polyester, to guarantee a secure hold over time.
Are There Any Safety Precautions I Should Take When Working With Glitter?
When working with glitter, you should take safety precautions to avoid glitter allergies and eye irritation. Wear eye protection, like goggles, and avoid inhaling glitter dust to prevent respiratory issues.
Related Posts
-

Why Makeup Artists Need Innovative Design Tools
You're pushing the boundaries of makeup artistry, and traditional tools are holding you back. Innovative design tools...
-

Best Ballroom Dance Shoes for International Style
When you're selecting the best ballroom dance shoes for International Style, focus on essential features like grip, c...
-

Dance Into Creativity With Ballerina Embroidery Pattern
Ignite your creative potential with the enchanting ballerina embroidery pattern, where artistry meets precision. This...


